Scene Modifiers
Note
If there is a property that you cannot find in any of these modifiers, check the Custom Properties Modifier section, where you can add any property inside Blender and change its value for each scene state.
Camera Modifier
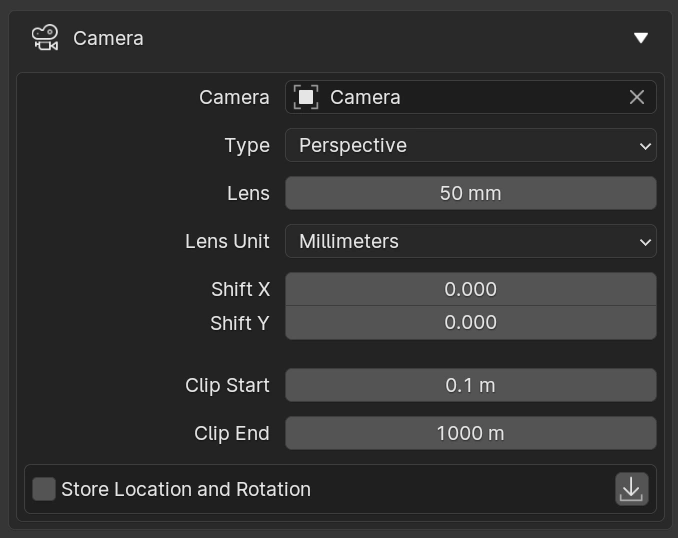
The Camera Modifier allows you to change the camera settings for each scene state.
Store Location and Rotation

When enabled, the camera’s position is saved for each scene state. Use the button on the right to save the current position. This feature allows you to use the same camera with different positions across various scene states.
Tip
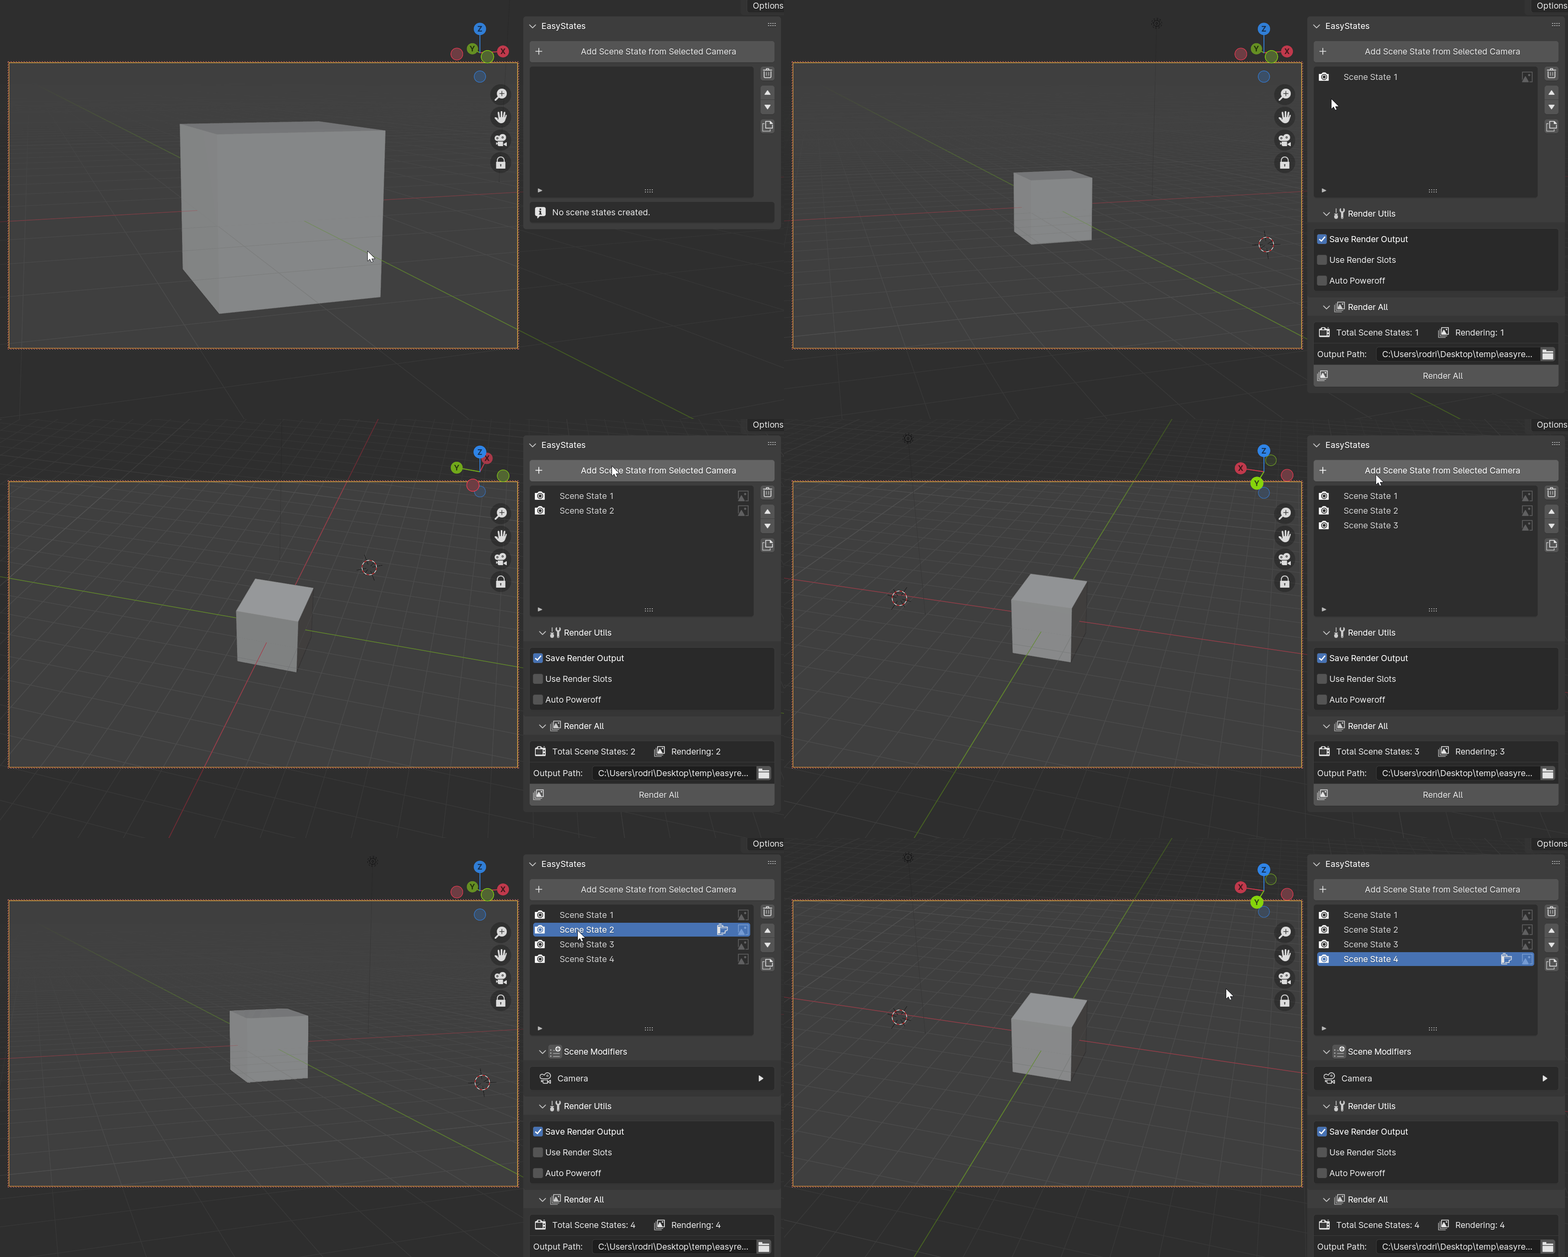
To enable this feature by default when adding new scene states, navigate to the add-on preferences and enable Store Camera Location and Rotation by Default. This way, you can quickly create new scene states with the same camera in different positions, and the current position will be automatically saved.
World Modifier
The World Modifier lets you change the active world for each scene state.

Resolution Modifier
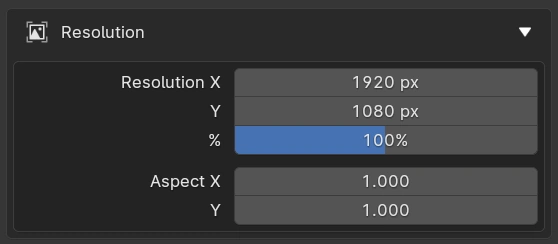
The Resolution Modifier allows you to change the resolution settings for each scene state.
Animation Modifier
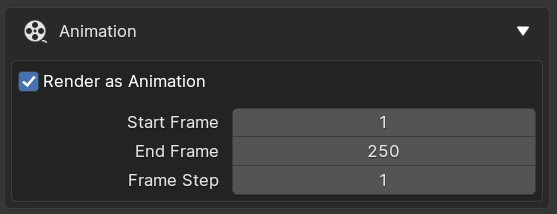
When active, instead of rendering a single frame, the scene state will be rendered as an animation with the specified frame range.
Output Modifier
The Output Modifier allows you to change the output settings for each scene state.
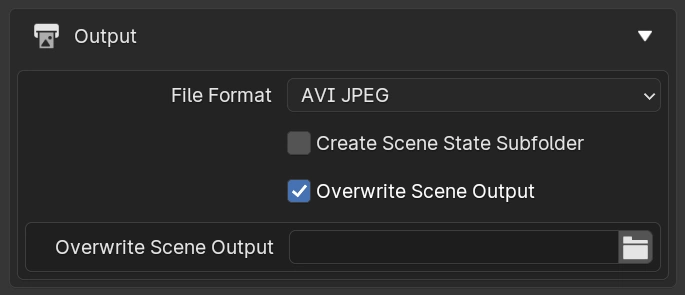
Create Scene State Subfolder: When enabled, a subfolder with the scene state name will be created inside the output folder. This is useful for keeping the output organized when rendering animations with image sequences output.
Overwrite Scene Output: When enabled, you can set a different output path from the scene for each scene state.
Objects Action Modifier
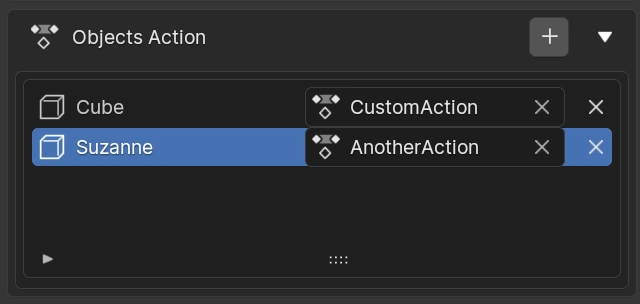
The Objects Action Modifier allows you to change the action of objects for each scene state. To add an object to the list, select it in the 3D Viewport, return to the Objects Action panel, and click the “+” button.
Objects Transform Modifier
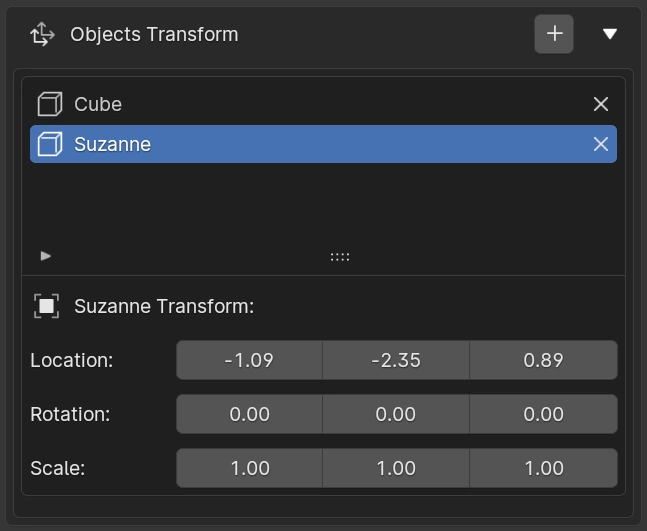
The Objects Transform Modifier allows you to change the transform settings for each scene state. To add an object to the list, select it in the 3D Viewport, return to the Objects Transform panel, and click the “+” button.
Render Modifier
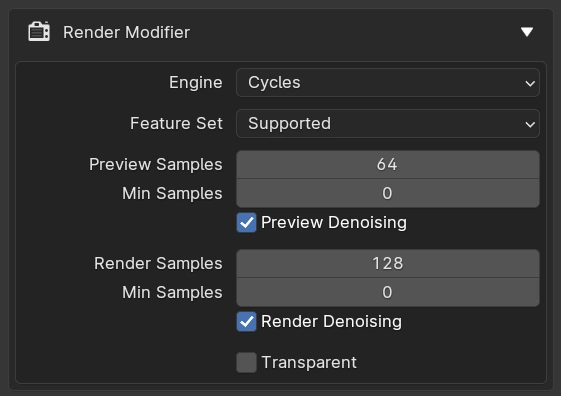
The Render Modifier allows you to change the render settings for each scene state.
Simplify Modifier
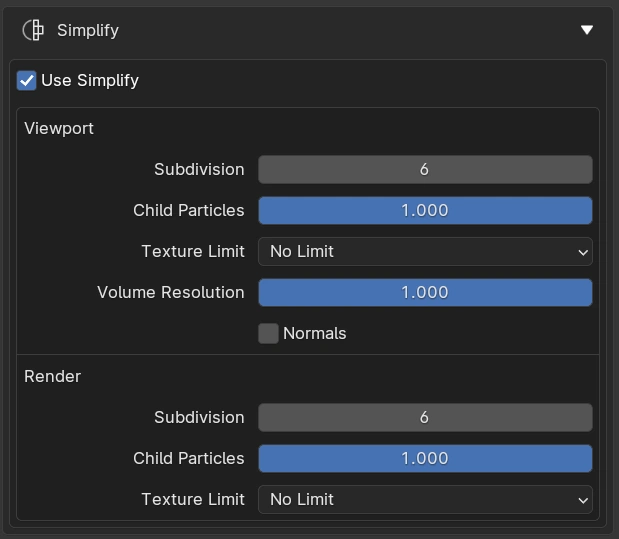
The Simplify Modifier allows you to change the simplify settings for each scene state.
Color Management Modifier
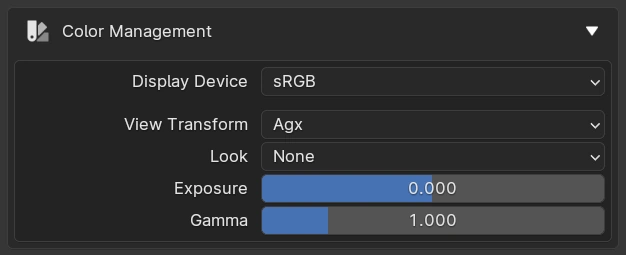
The Color Management Modifier allows you to change the color management settings for each scene state.
Collection Visibility Modifier
It allows you to change the visibility of collections for each scene state. To add a collection to the list, select the collection in the outliner, return to the Collection Visibility panel, and click the “+” button. You should then see the collection in the list, where you can change its visibility for each scene state.
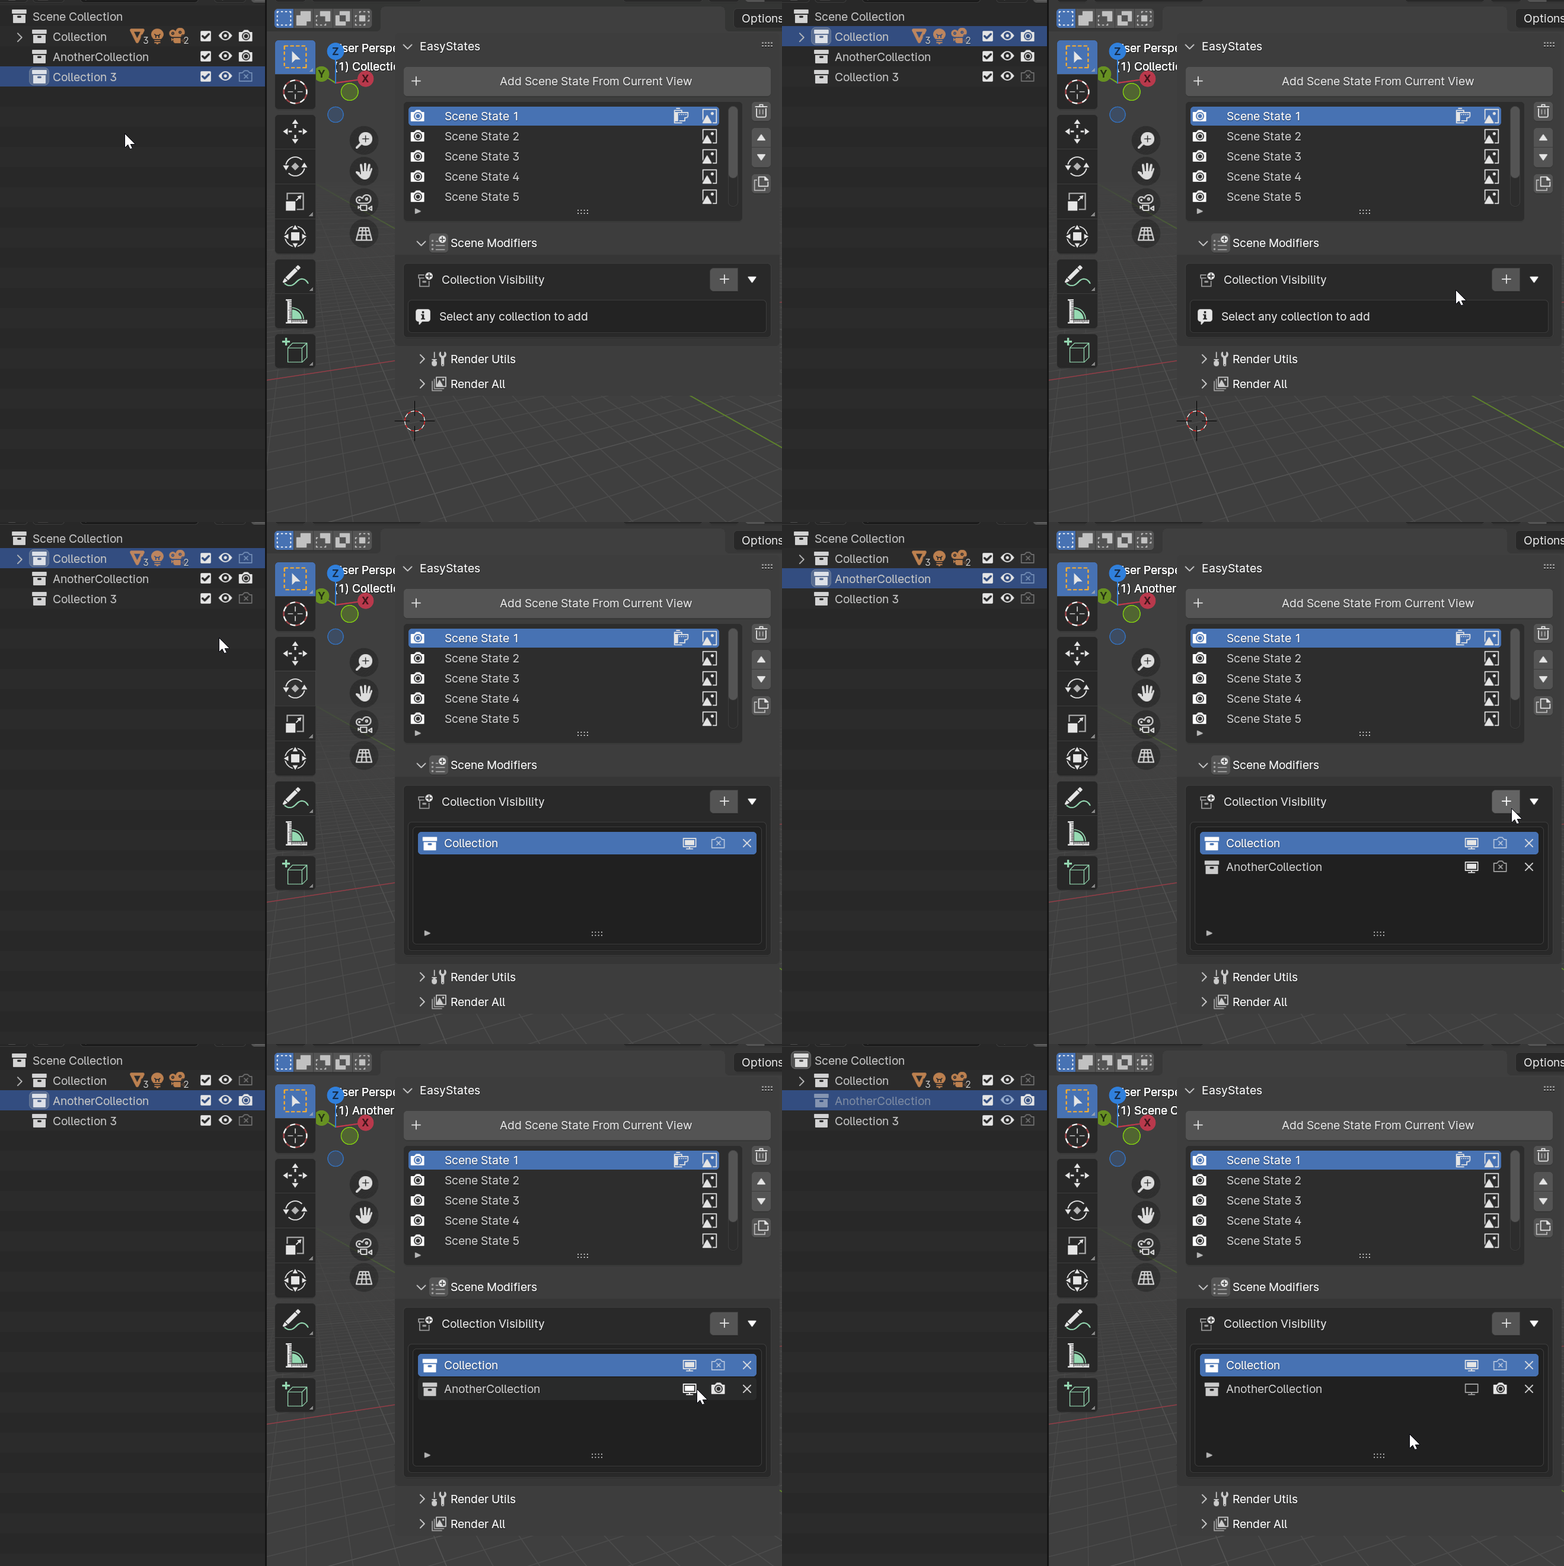
You can also use the dropdown menu to the left of the “Add Collection” button to specify the restriction toggles to be used.

Note
Linked collection instances do not work with the Collection Visibility Modifier, as they behave like objects in the View Layer. Use the Objects Visibility Modifier instead.
Material Slots Overwrite Modifier
It allows you to change the material slots for each scene state of one or multiple objects. To add a material slot overwrite to the list, select the object in the 3D Viewport, return to the Material Slots Overwrite panel, and click the “+” button.
You should then see the added object in the list. To create a material slot overwrite, click the “+” button in the panel below with the object selected in the object list.
Select the desired material to overwrite the slot, and select the material slot index to overwrite. You can add as many material slot overwrites as you want.
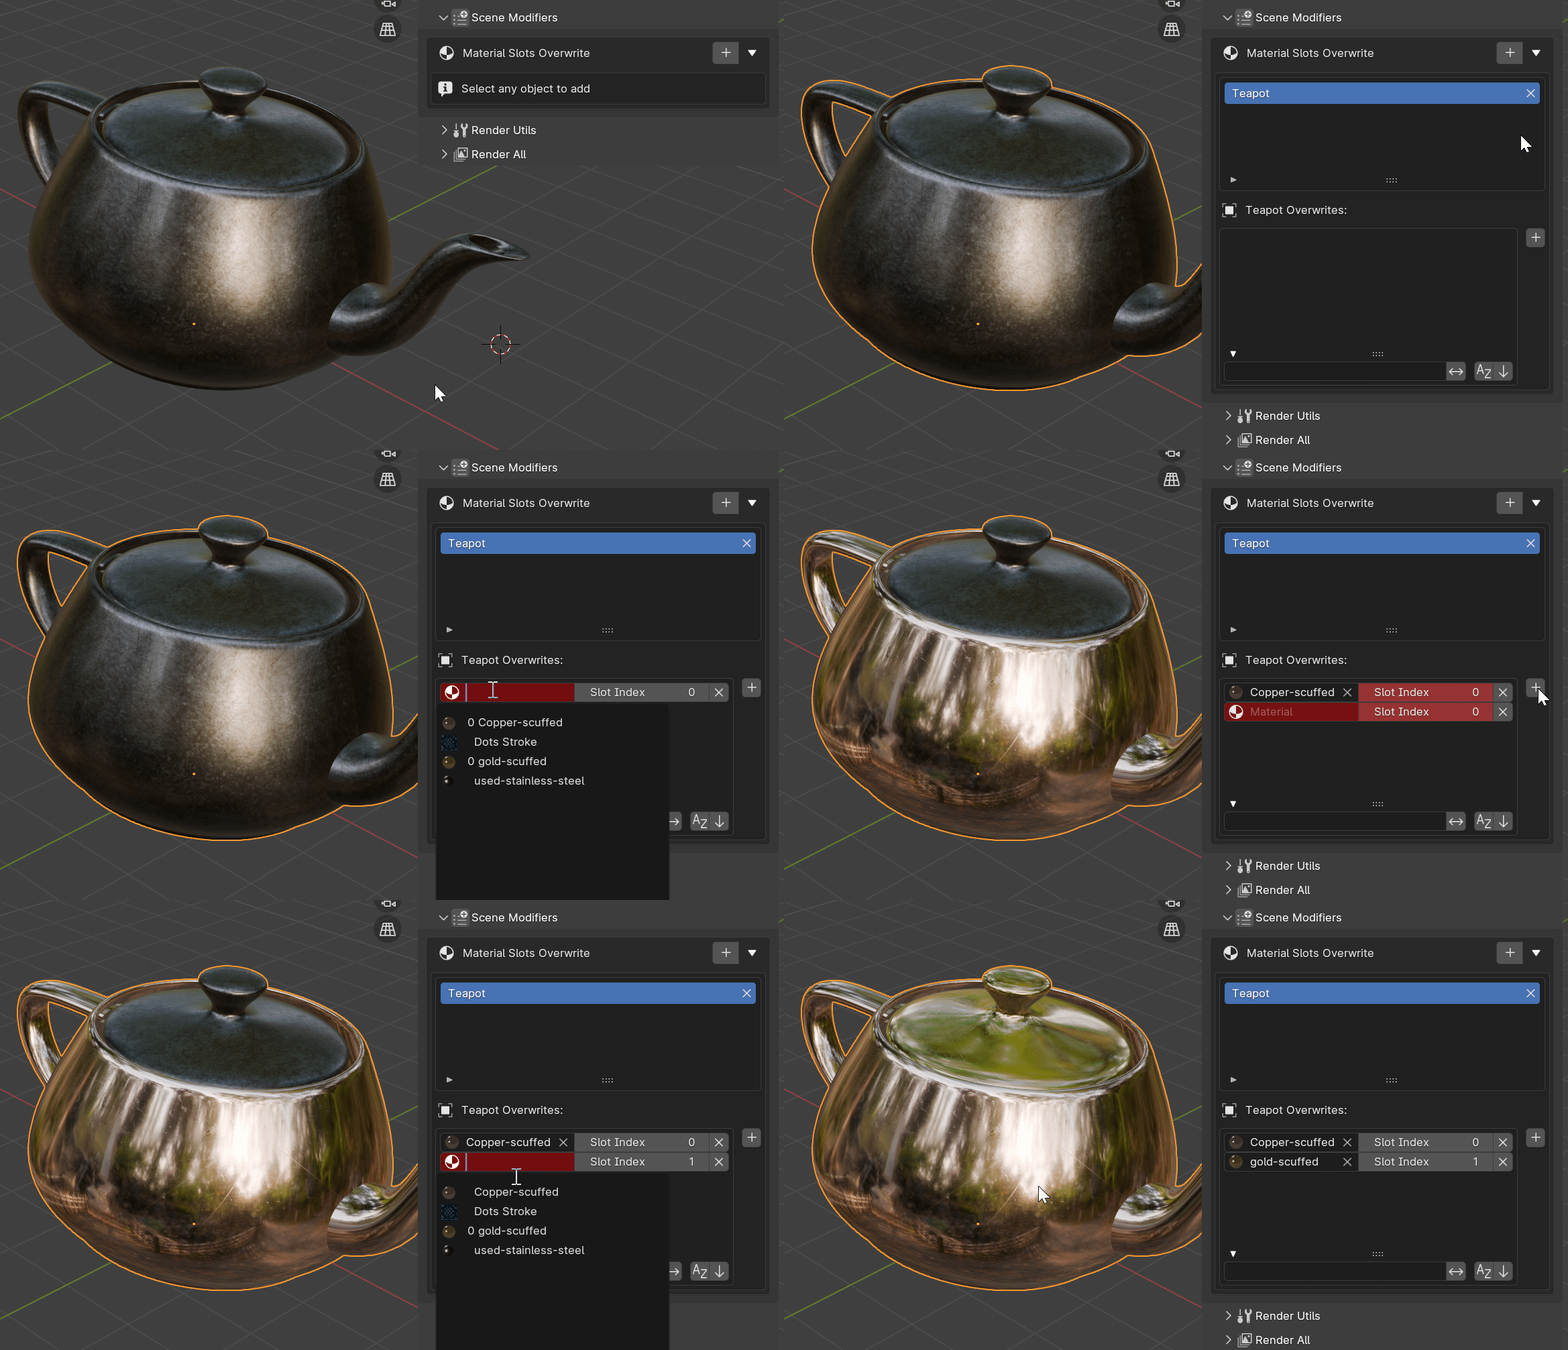
This will be the final result for this scene state in the object material slots:
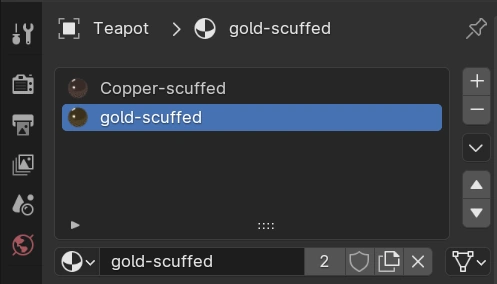
Warning
If you leave the material selector empty, it will turn red, indicating that nothing will overwrite the material slot.
Warning
If you have two material overwrites with the same material slot index, it will turn red and the last one will overwrite the previous one.
Custom Properties Modifier
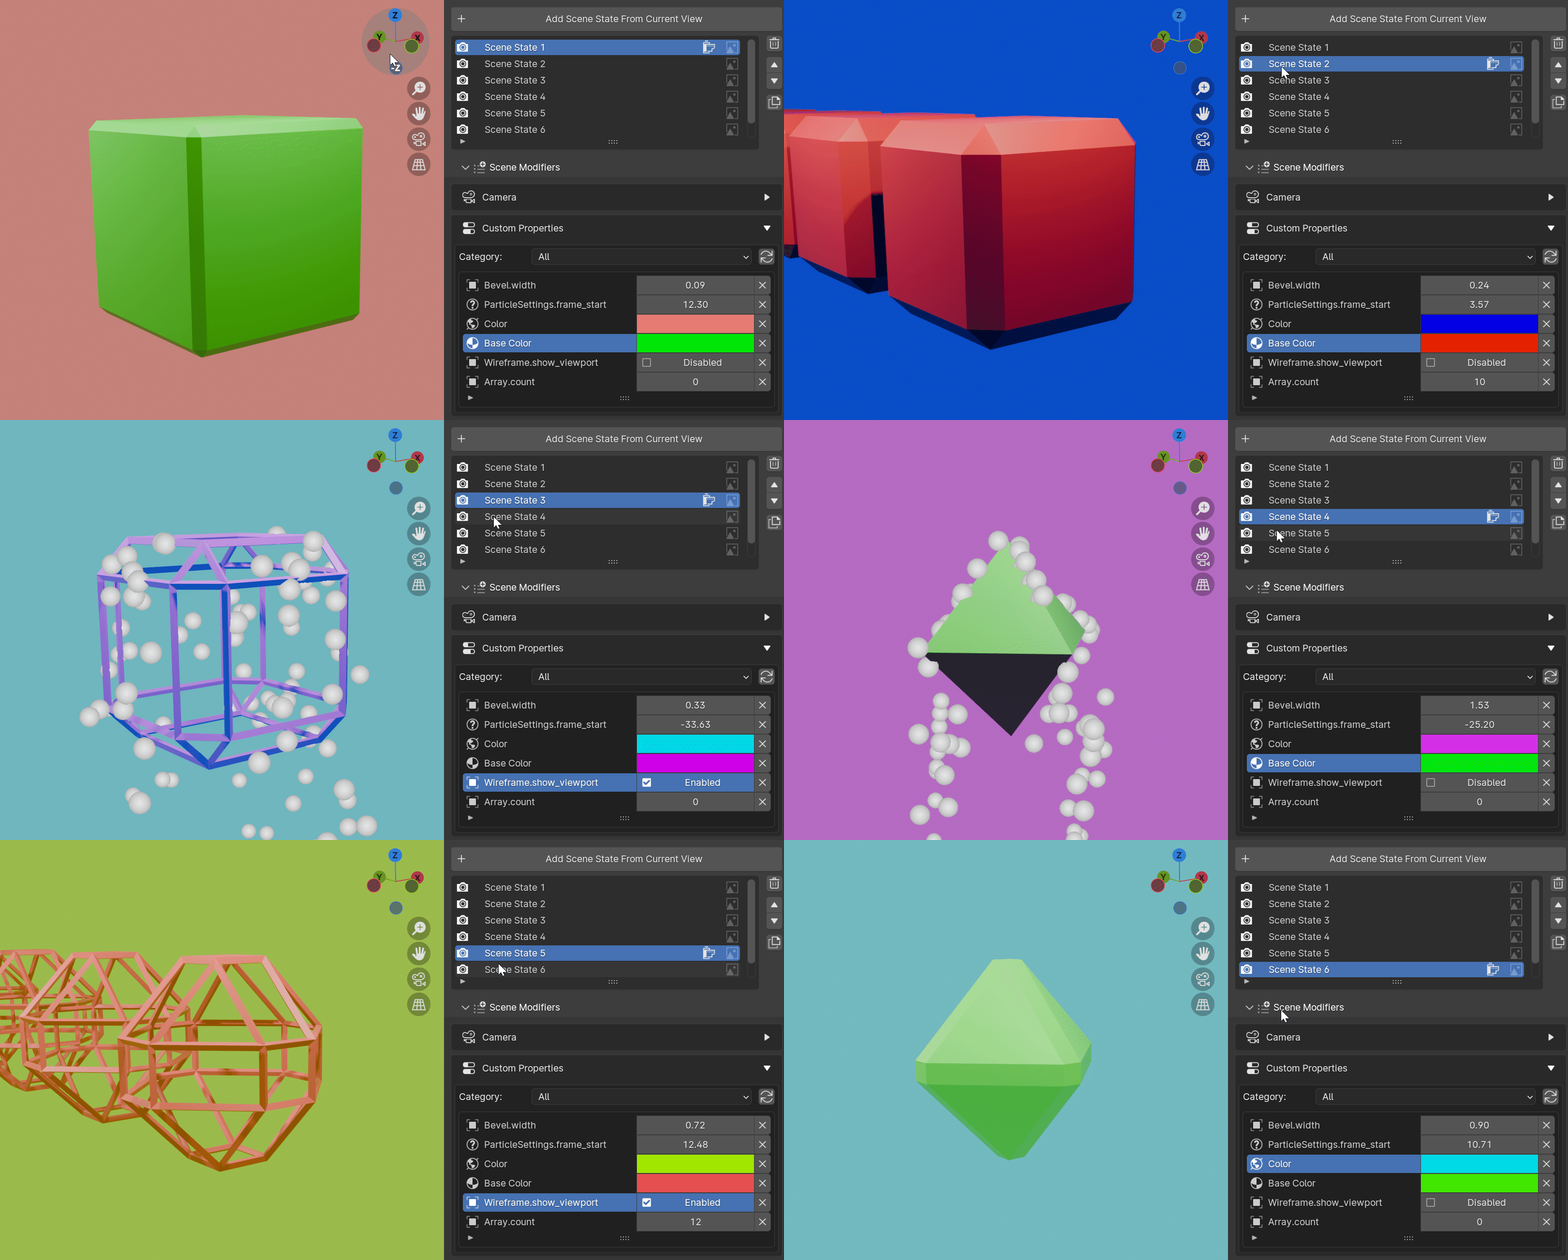
This modifier allows you to add any property inside Blender and change its value for each scene state. It can include specific render settings not covered by the other modifiers, or even a property of a specific node group inside a material of a specific object.
In the example below, we have a scene with a single cube, featuring custom properties from the world node tree, object modifiers, and material properties with different settings in each scene state.
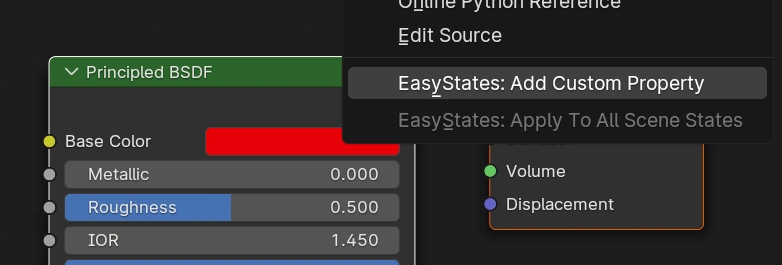
You can add any property by right-clicking on it and selecting “EasyStates: Add Custom Property”. This will add it to the custom property modifier.

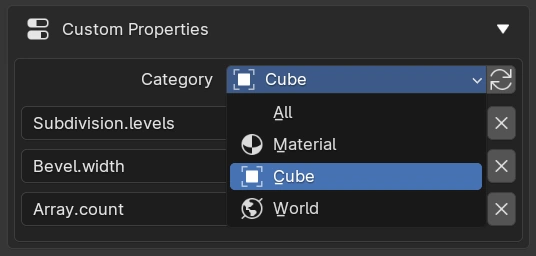
After adding custom properties, categories will be created automatically for organization.
Repair Custom Properties
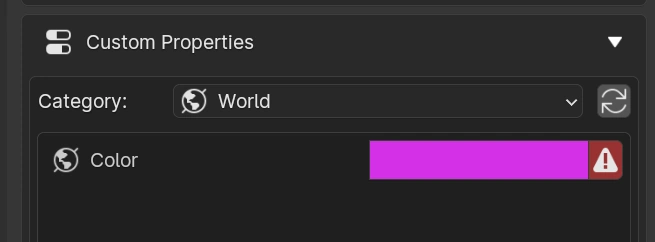
If a custom property in an object or shader node is deleted, does not exist, or has its ID changed in a new version of Blender (especially for node sockets), the custom property will be displayed in the modifier with a red error icon.
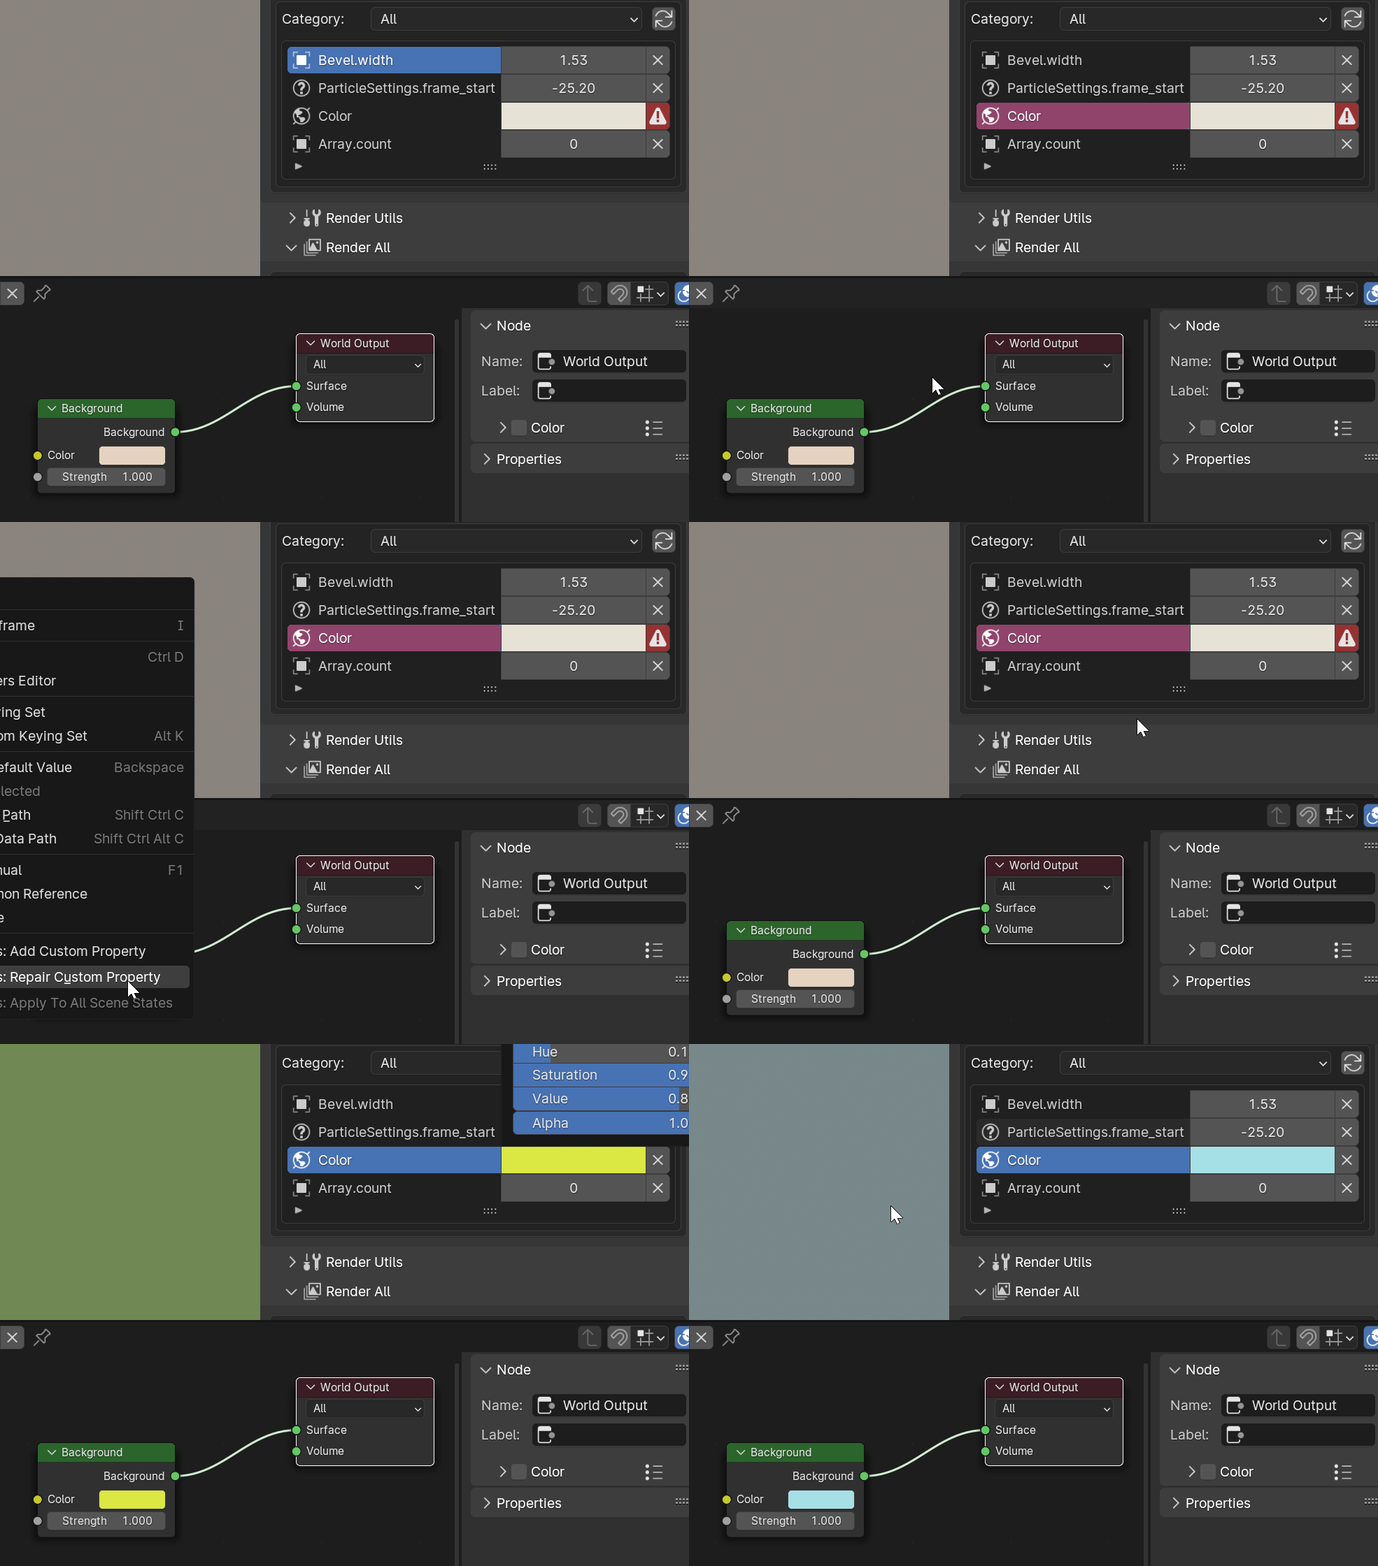
If you restore the object or want to restore this custom property using another similar property type, first select the invalid custom property in the Custom Properties UI List, then go to the property you want to restore it from, right-click on it, and select “Repair Custom Property”.
Enumerator Properties
Enumerator properties are Blender properties that change their value based on a list of options.
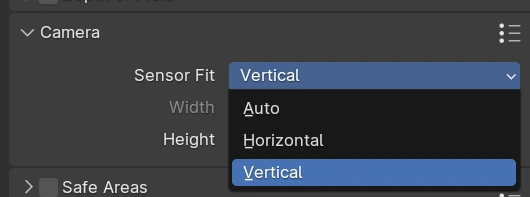
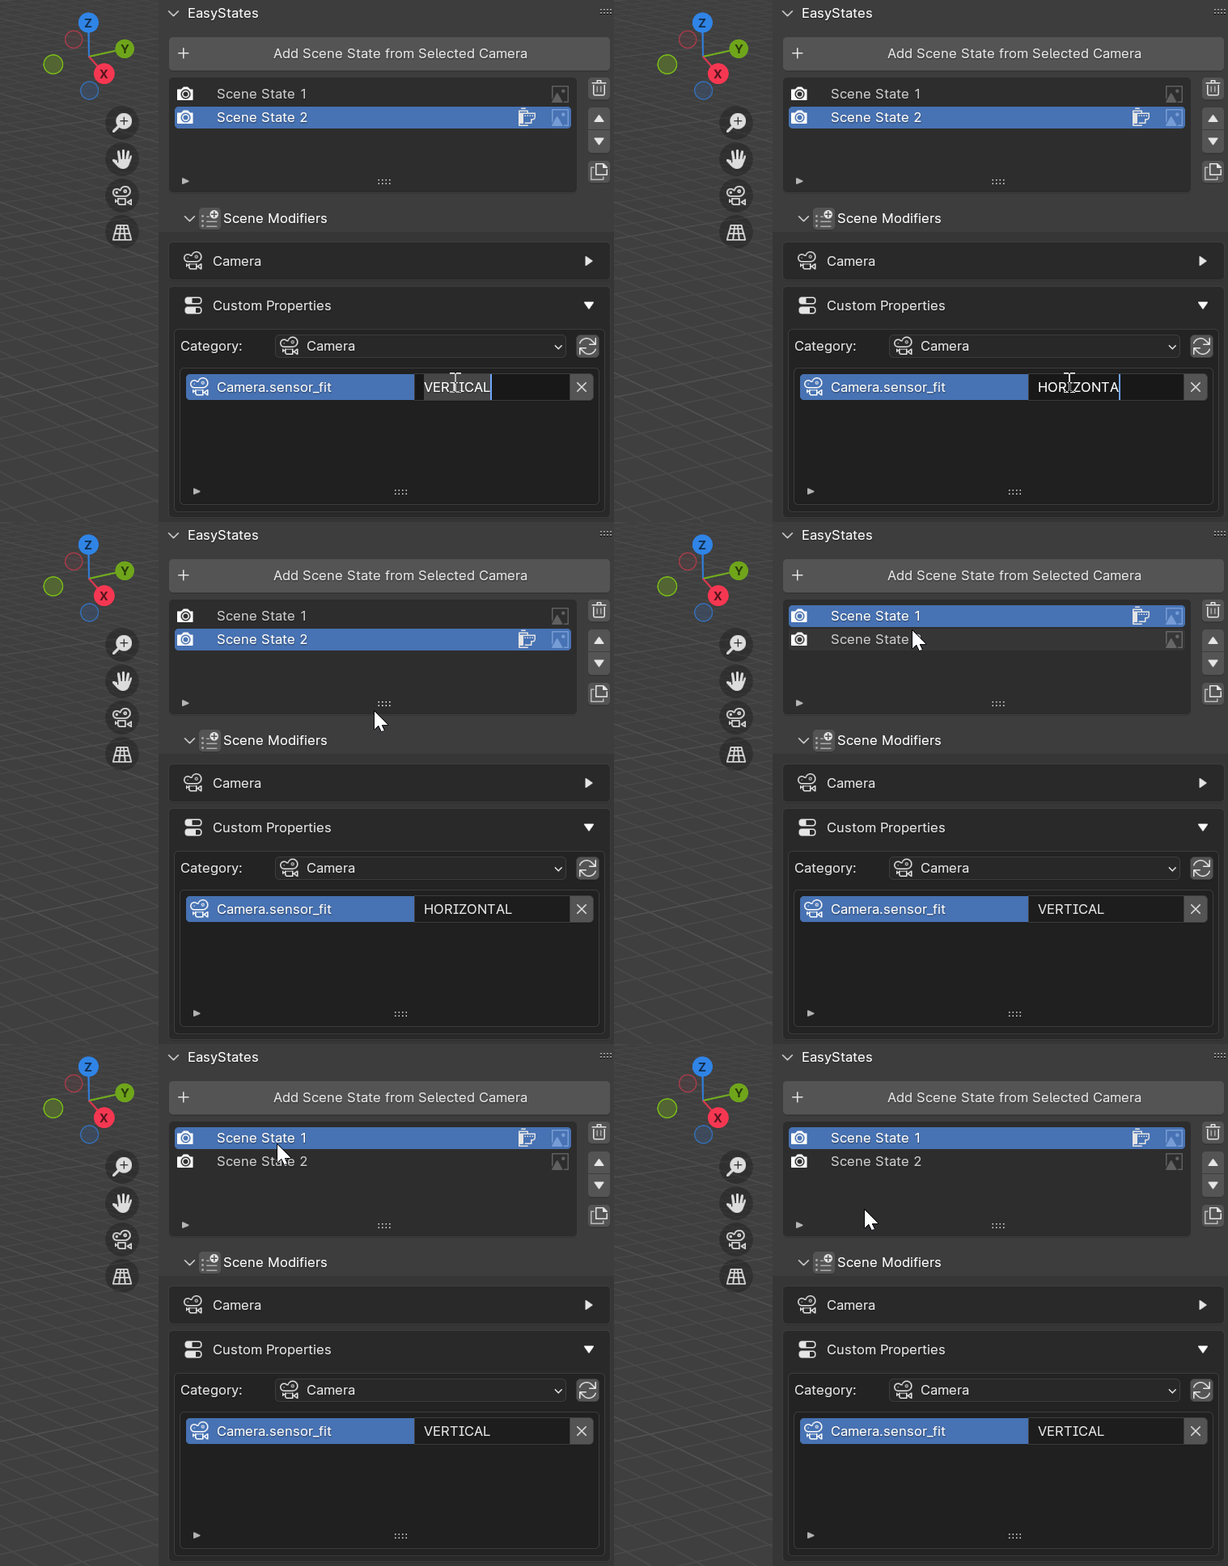
You can also use custom properties with them, but it’s not as intuitive as the other properties, since you have to manually type the value text of the selected option after adding it as a custom property.
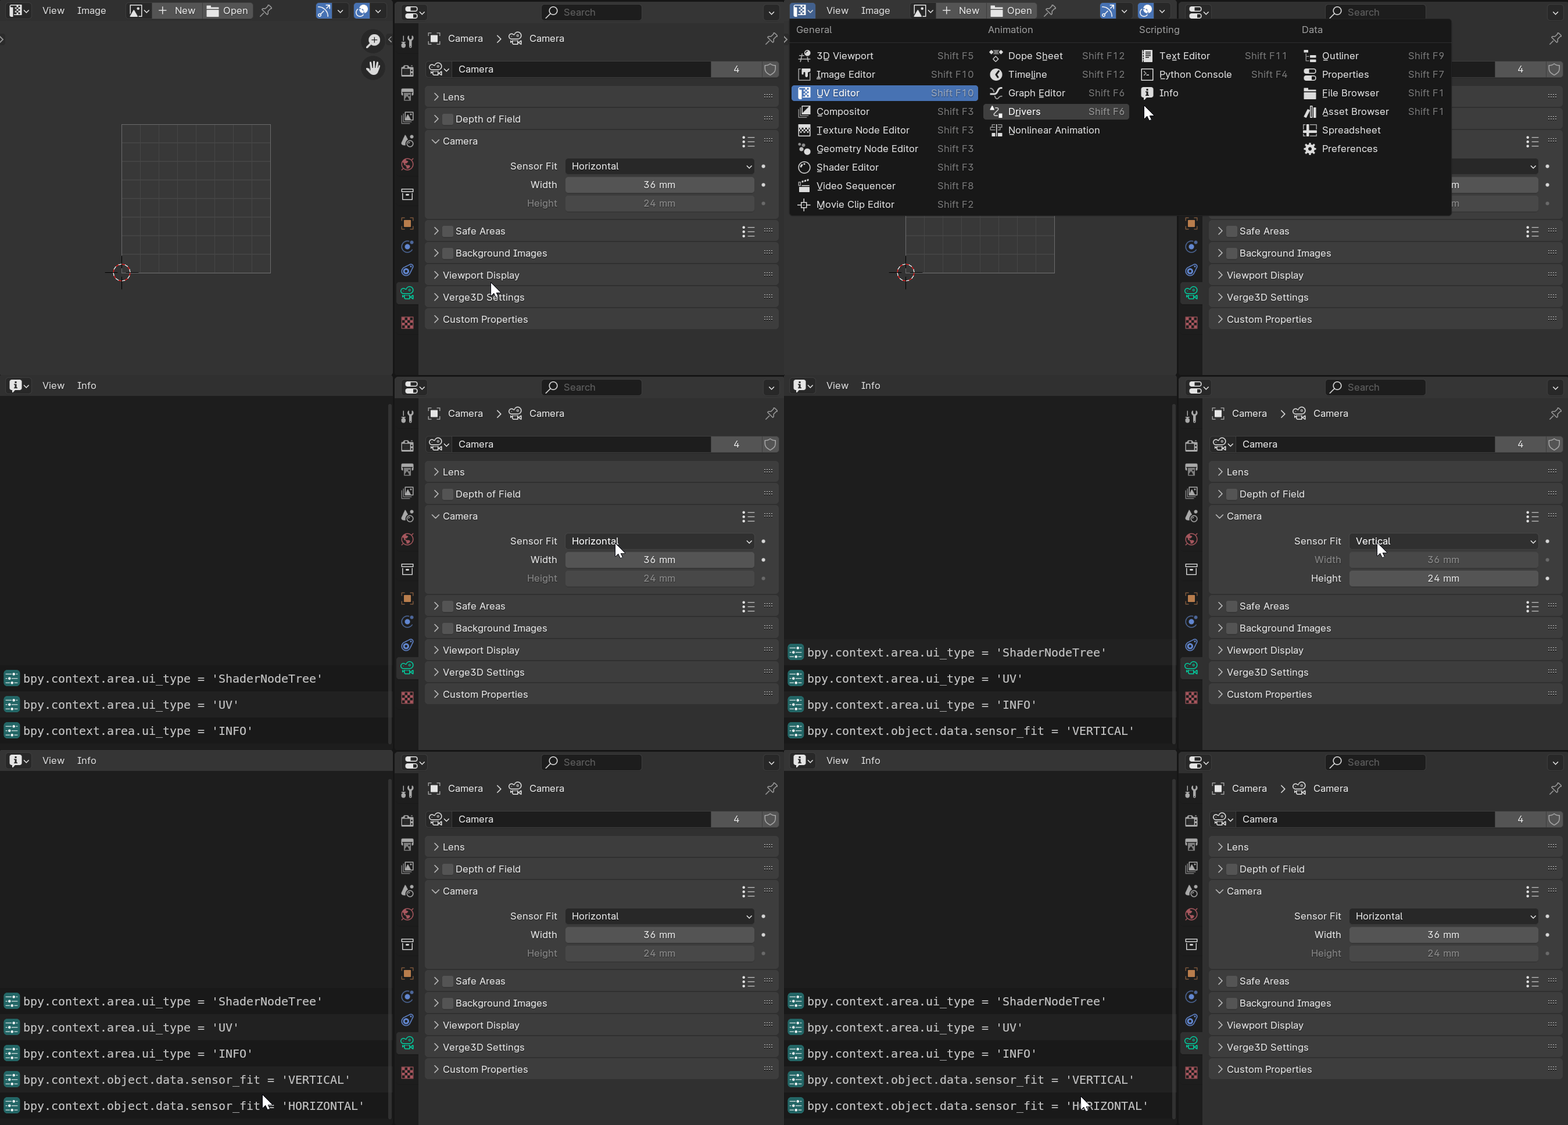
Also, keep in mind that the value text can be different from what is displayed in the UI. One easy way to check the real value is by changing any area in your window to the “INFO” area. Then change the enumerator value and check in the INFO area to see the real value of the selected option.

Objects Visibility Modifier
The Objects Visibility Modifier allows you to change the visibility of objects for each scene state. You can add one or more objects to the list by selecting them in the 3D Viewport and clicking the “+” button in the Objects Visibility panel.
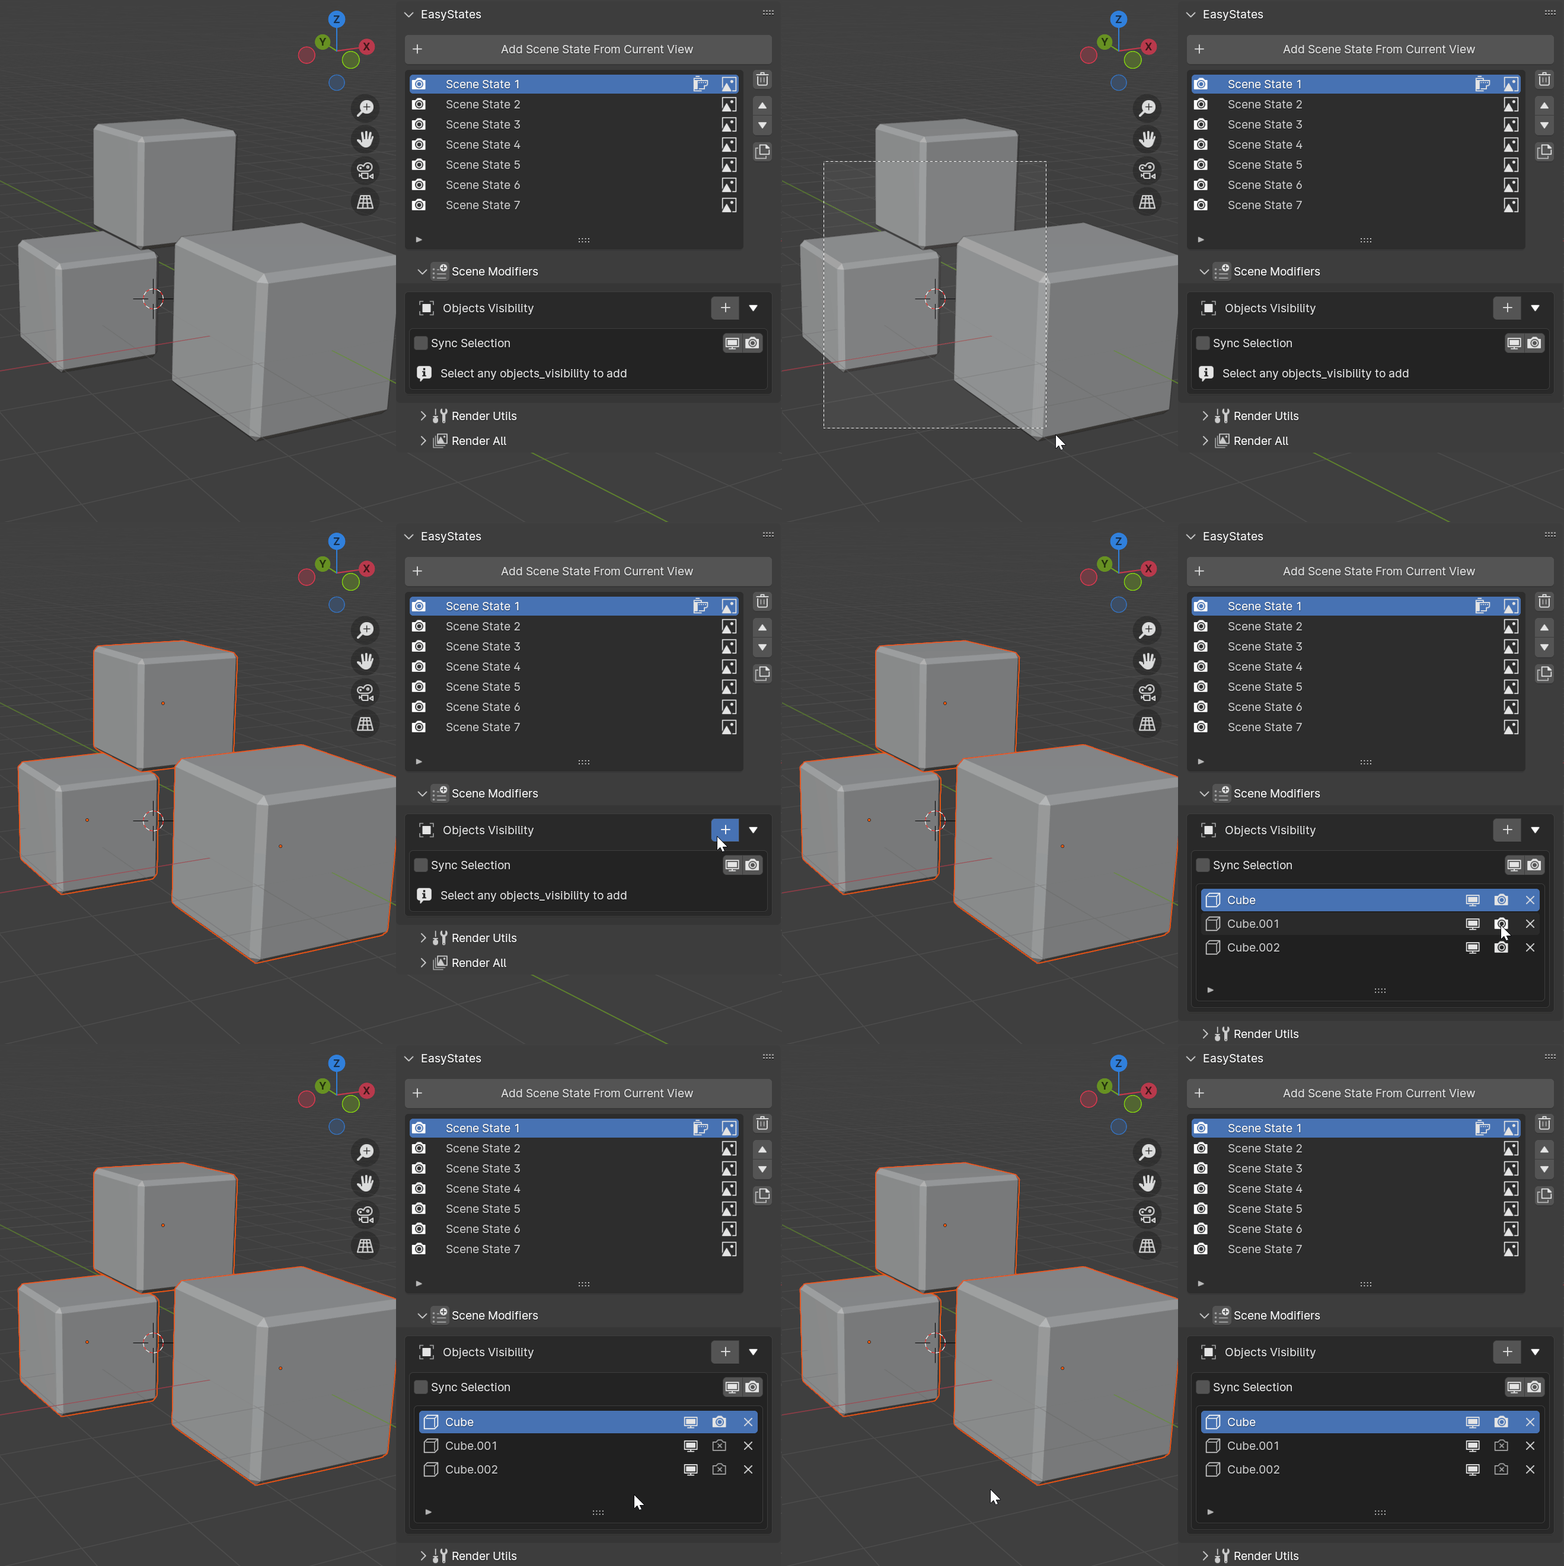
Sync Selection: Uses the selected objects in the 3D Viewport as a filter for the UI List, showing only the selected objects.
Render Region Modifier
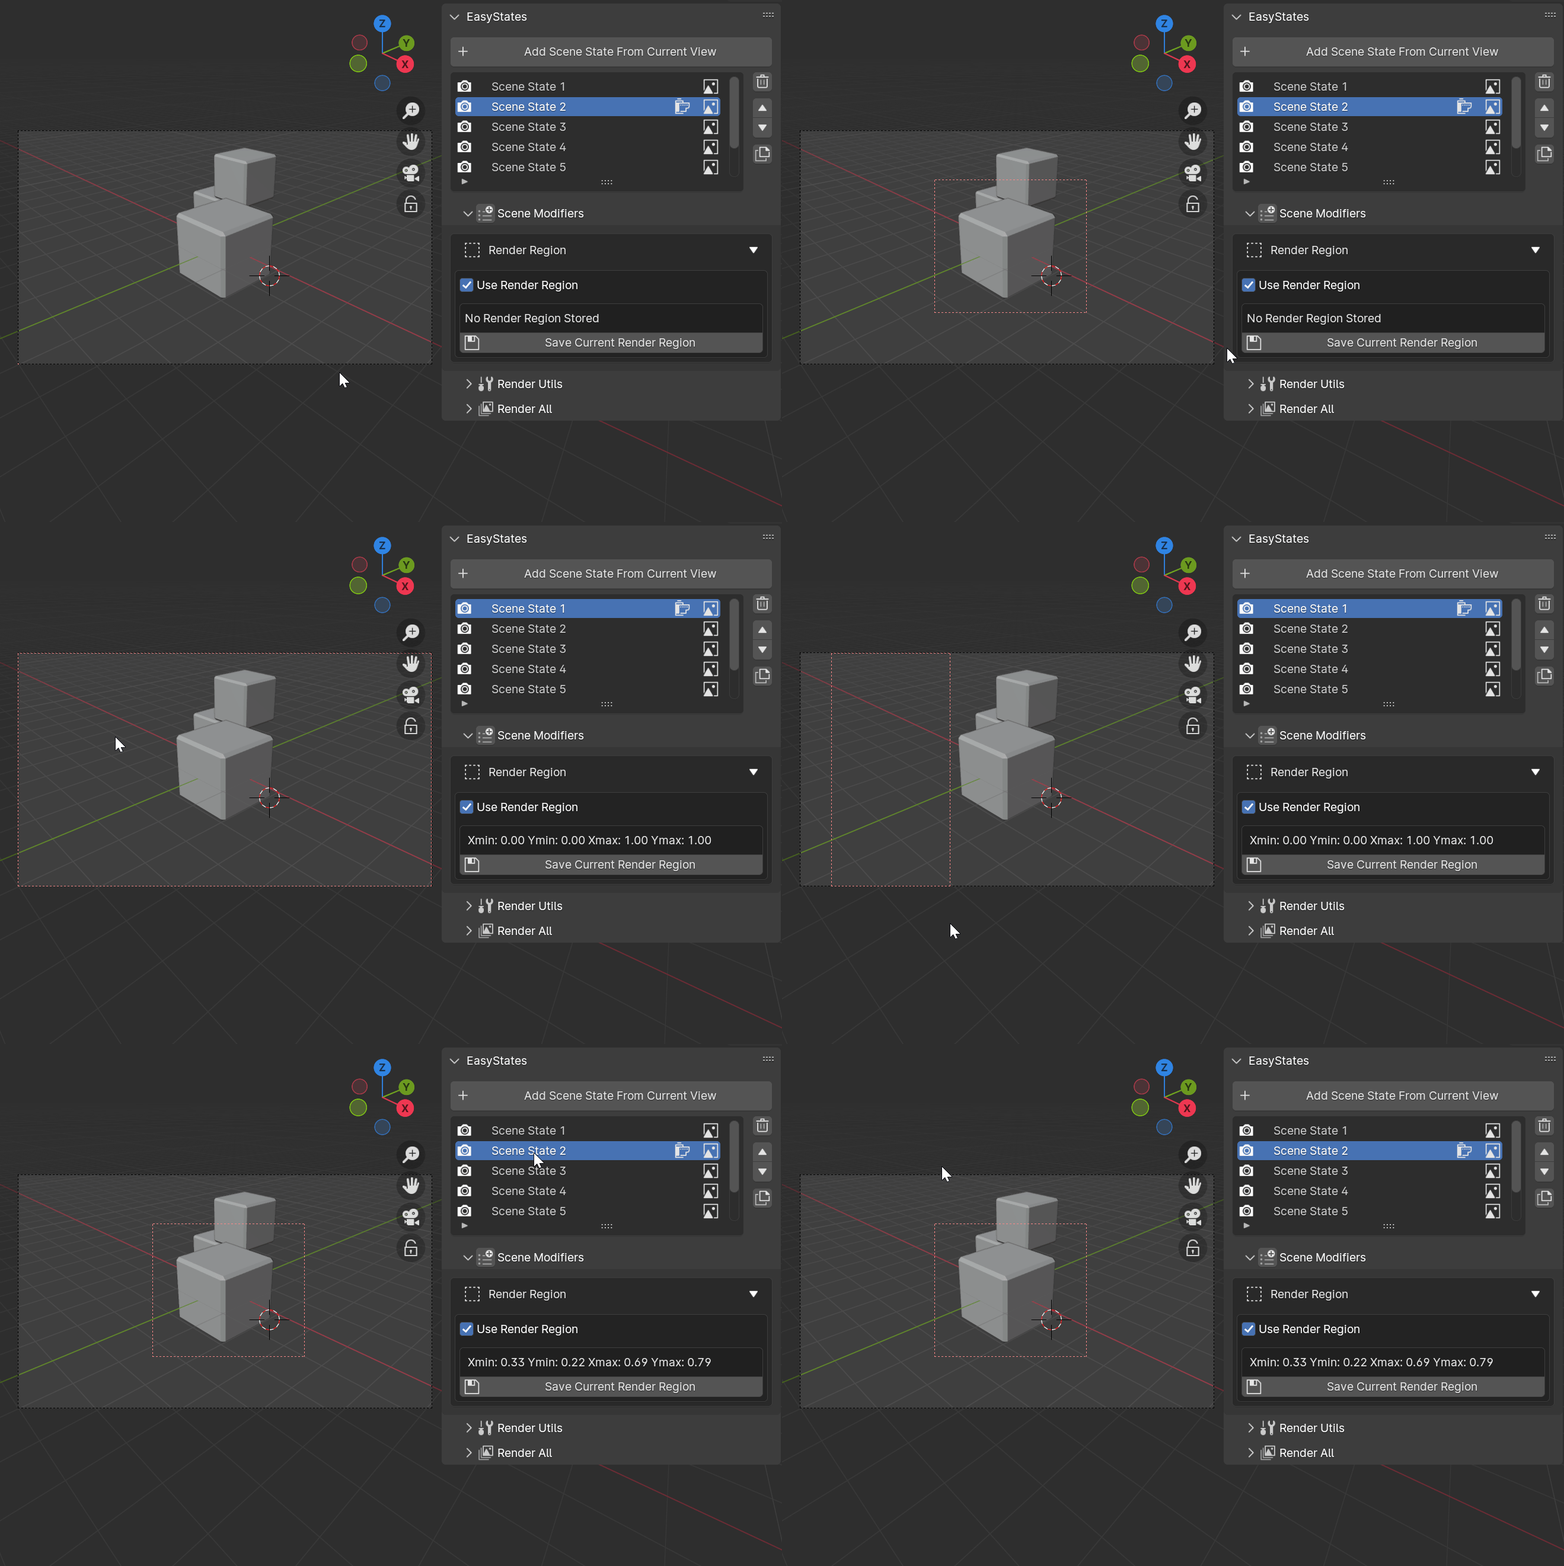
The Render Region Modifier allows you to store a specific render region for each scene state. To use it, create a render region in your viewport, then in the Render Region Modifier Panel, click the “Save Current Render Region” button to store it in the current scene state.
