Usage
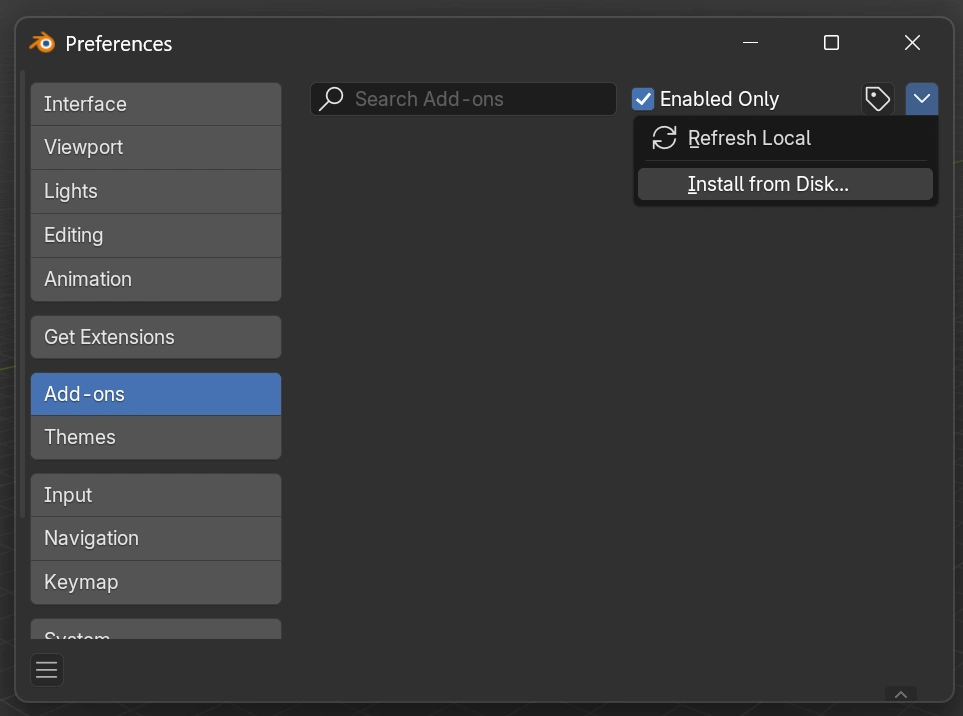
Installation
Open Blender and go to Edit -> Preferences -> Add-ons -> Install and select the EasyStates add-on zip file. Then enable the add-on by checking the checkbox next to it.
Warning
If you’re upgrading from an earlier version of EasyStates, uninstall the previous version first to avoid conflicts. After installing the new version, restart Blender to ensure all changes take effect.
After it is enabled, the add-on tab will be in the View3D sidebar.
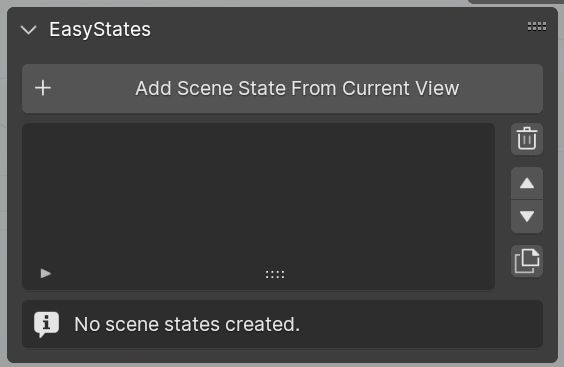
Scene States
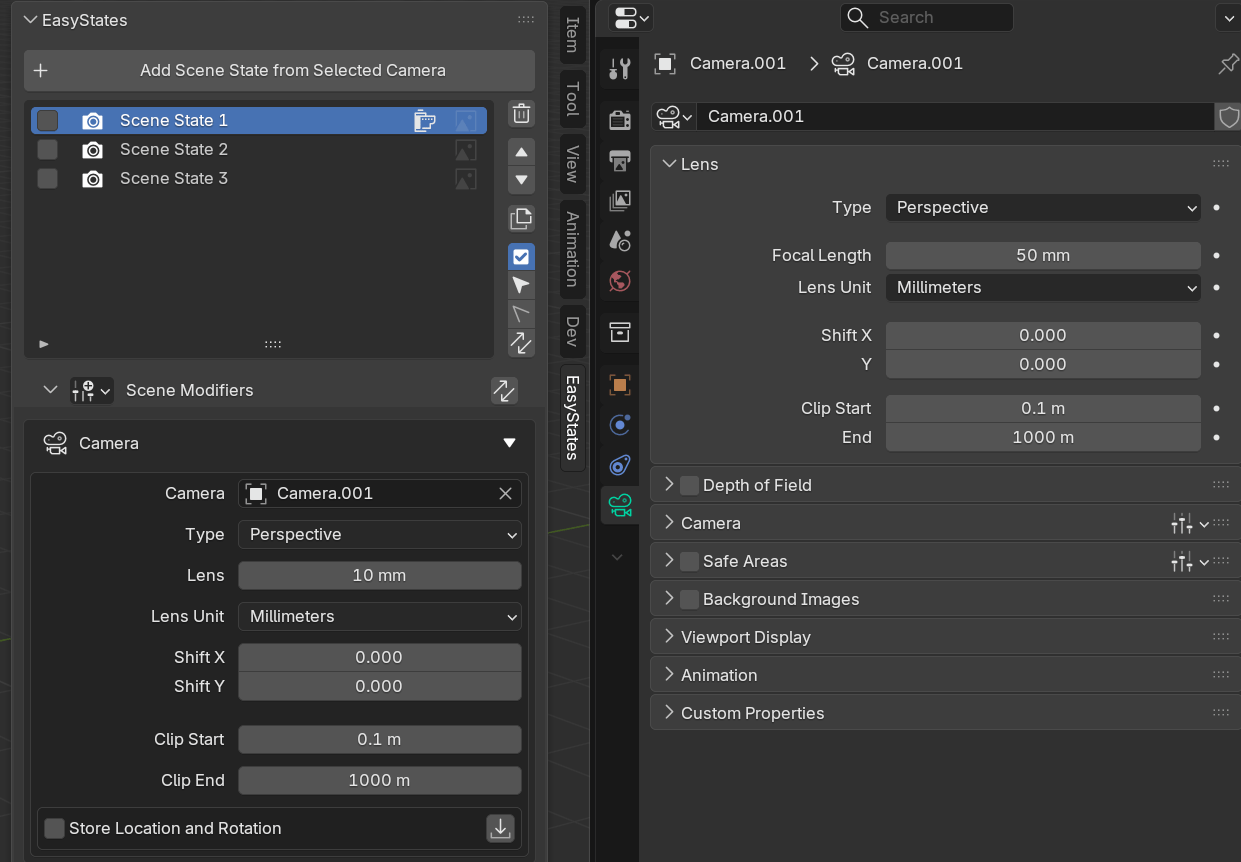
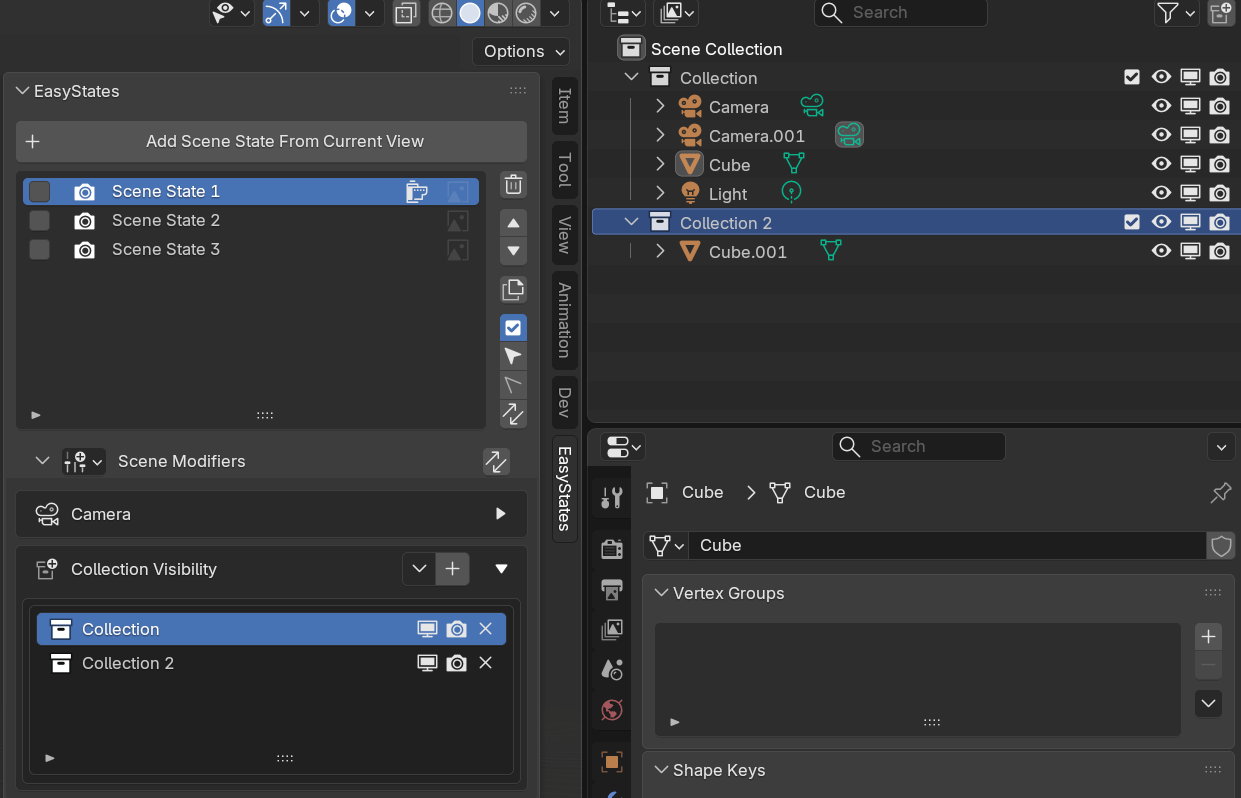
All add-on features are based on scene states. A scene state is a set of scene modifiers that can be applied to a scene. Each scene state holds its own set of scene modifiers, and you can easily switch between them in the viewport or render one or multiple scene states at once.
You can create a new scene state by clicking the “Add Scene State From Current View” button, which will create a new scene state with a new camera in the current view assigned to it.
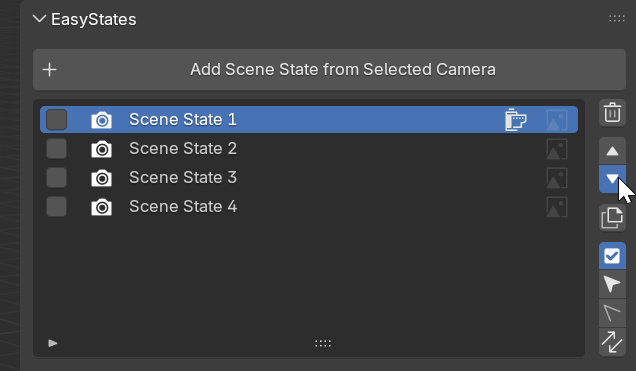
You can also select one or multiple existing cameras to create a new scene state from them. Double-click the scene state name to rename it.

You can also delete, move up or down, and duplicate scene states using the buttons on the right side of the scene state list.
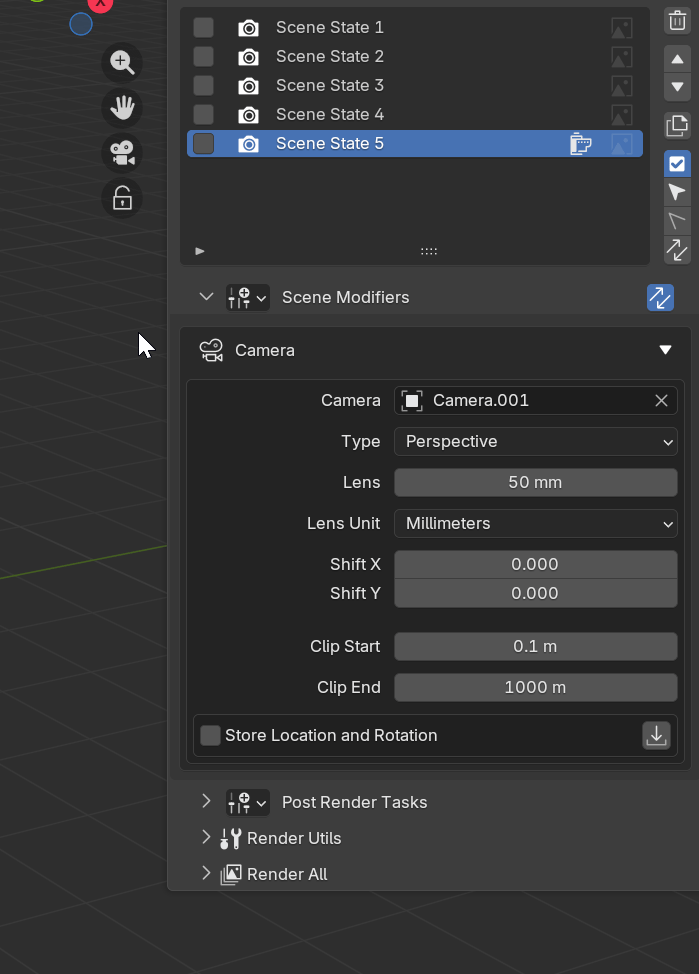
Scene Modifiers
Scene modifiers give the add-on its power; you can literally change anything in the scene with them. We have a special section explaining each of them in the documentation.
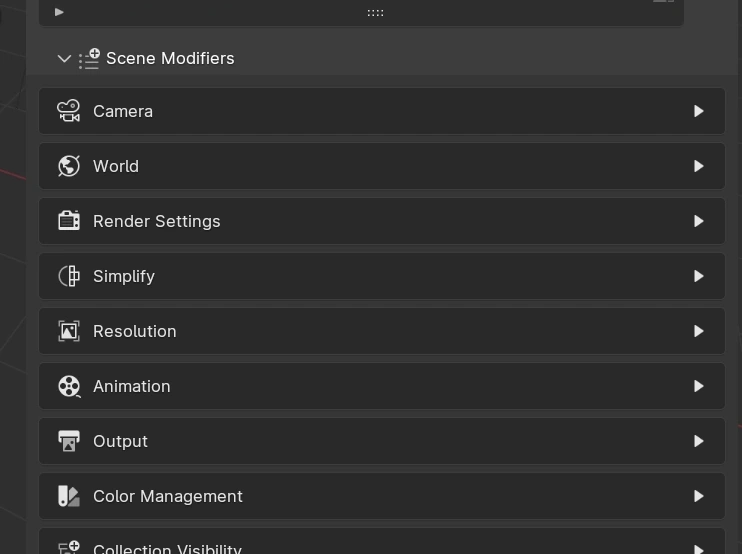
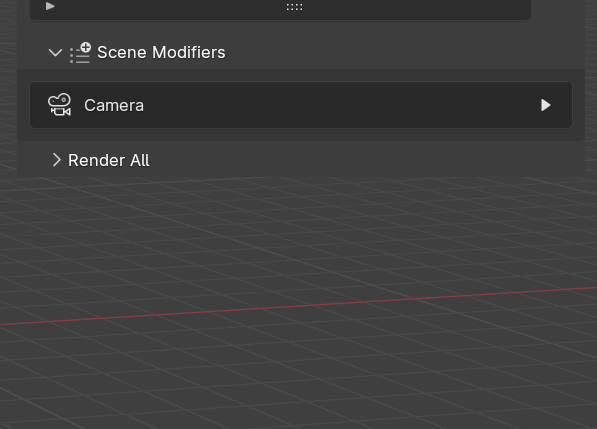
By default, only the Camera Modifier is enabled, but you can enable the others by clicking the button to the left of the “Scene Modifiers” title.
When you enable a scene modifier, you enable it globally, meaning that now, each scene state will have this modifier available to be used, but each scene state can store different values for the modifier.
In the example below, we have 6 scene states, all with the same camera but with different values for the camera Lens/Angle.
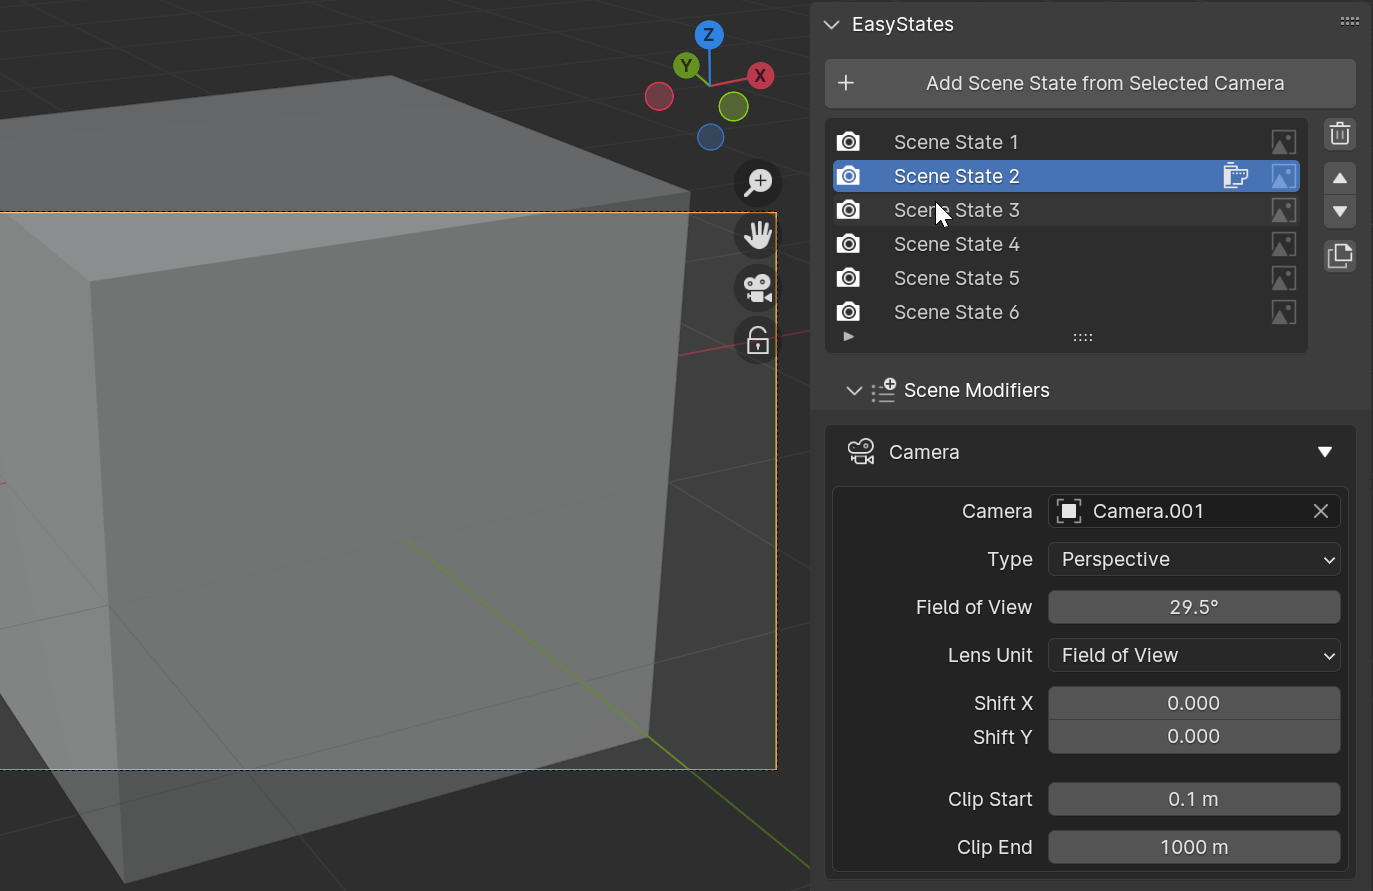
The concept is the same for every type of scene modifier. You can check this page for more information about each of them.
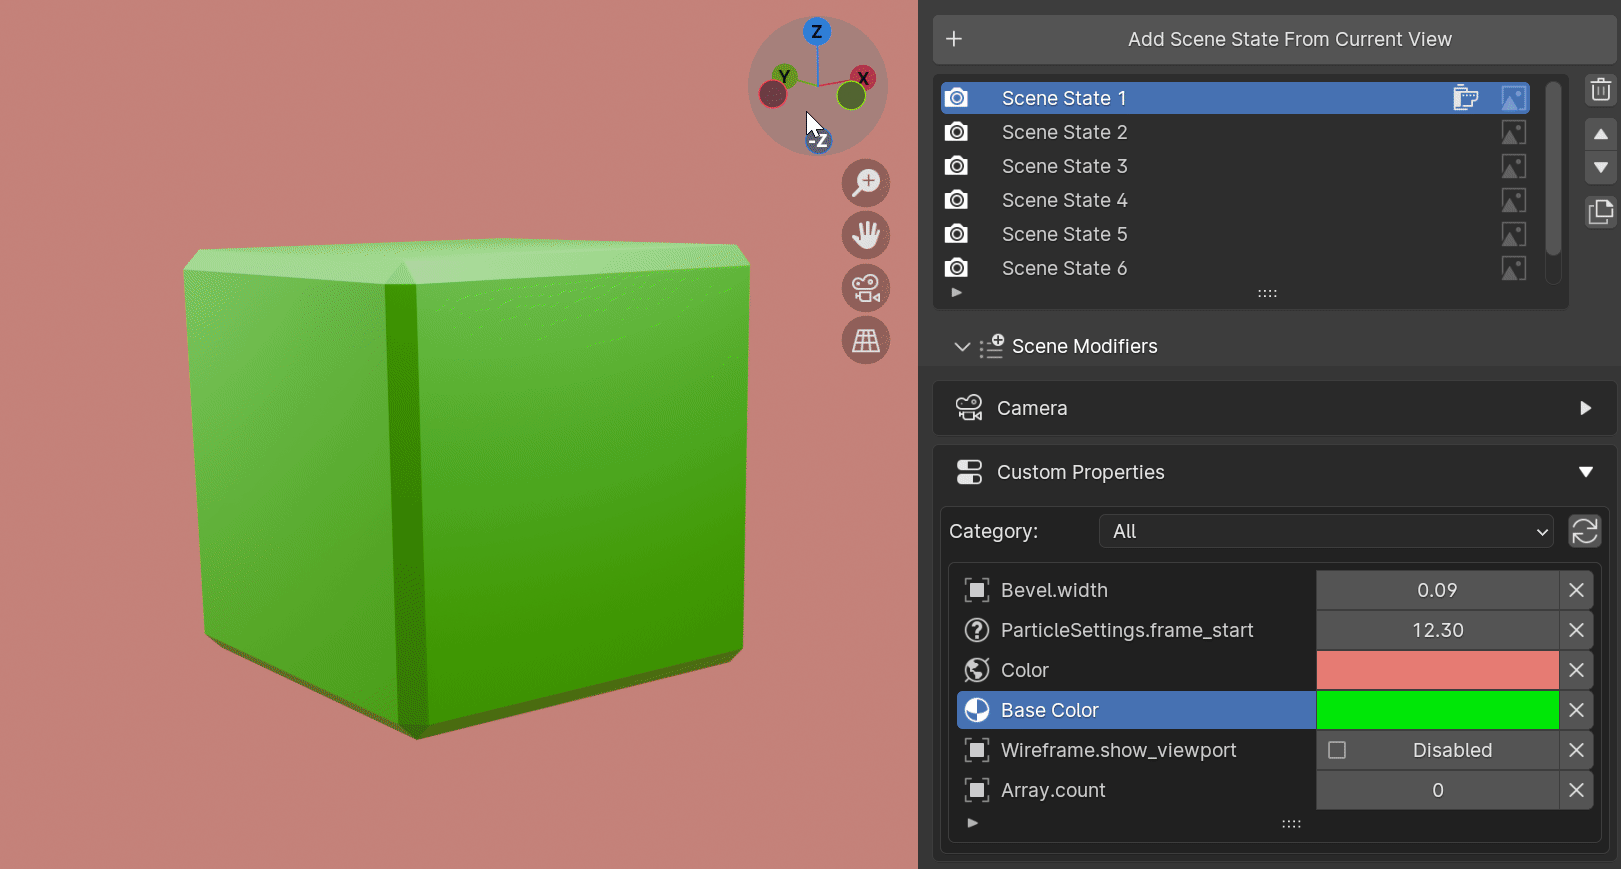
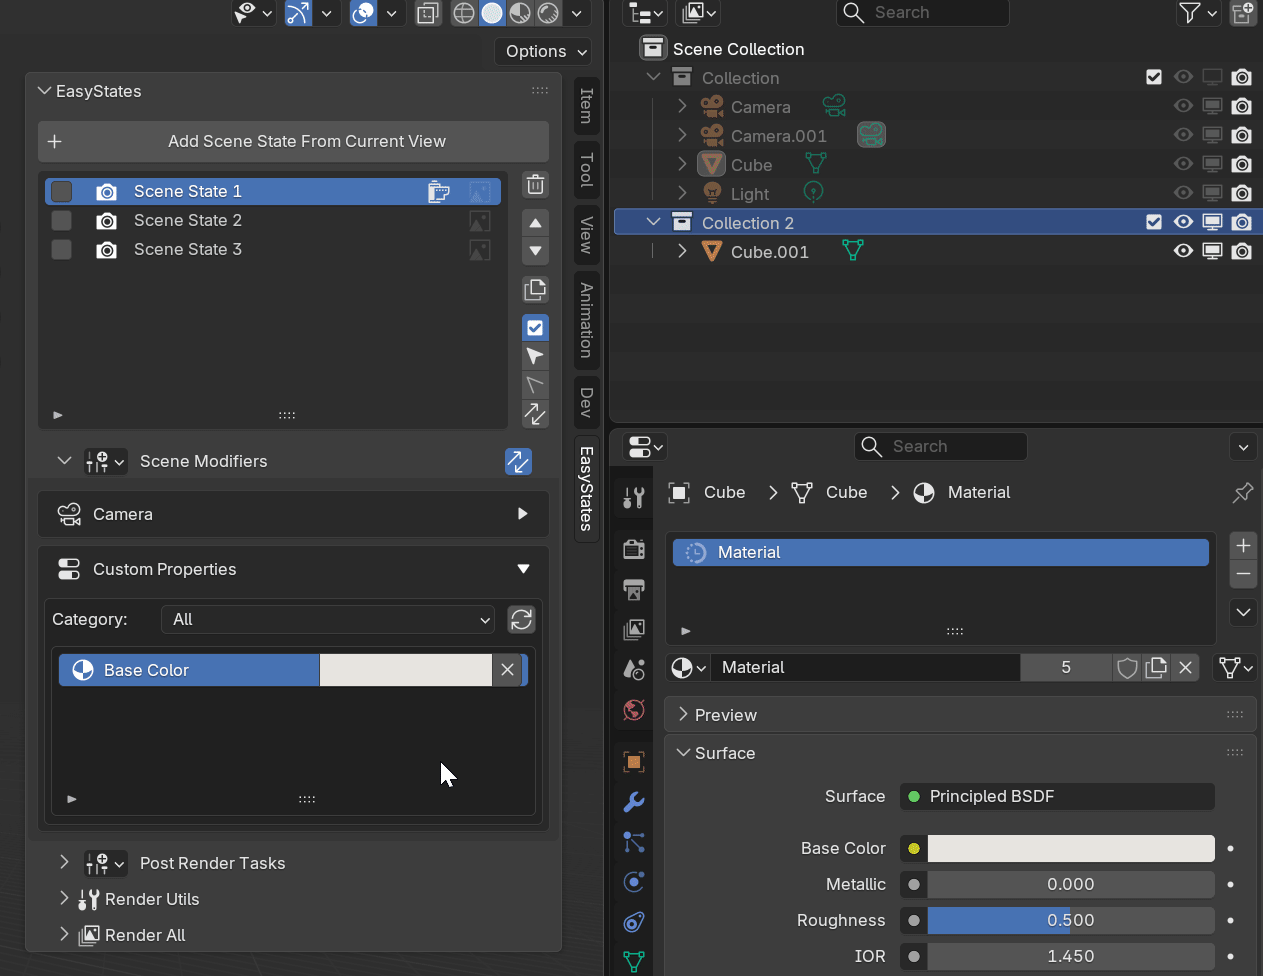
Custom Property Modifier
Each scene modifier type holds some of the most common properties that you may want to change in a scene, but not all of them. For this, we have the Custom Property Modifier. You can check more about it in the Custom Properties Modifier section.
Sync Scene Values
When activated, all scene modifiers will be updated with the current scene values when switching between scenes. If you make any changes directly to any scene property and there is a scene modifier responsible for it, the changes will be automatically updated in the scene state.
In this example, the Camera Modifier is being used, so any camera changes made in the scene will be synchronized with the active scene state:
This works for any other scene modifier as well:
It also works with any custom property added using the Custom Properties Modifier.
Selecting Scene States
You can enter scene state selection mode by clicking the checkbox box icon button below the duplicate scene states operator.
When in this mode, you can select multiple scene states by clicking the checkbox next to the scene state name. You can also use the Select All, Deselect All, and Invert Selection buttons to assist with selection.
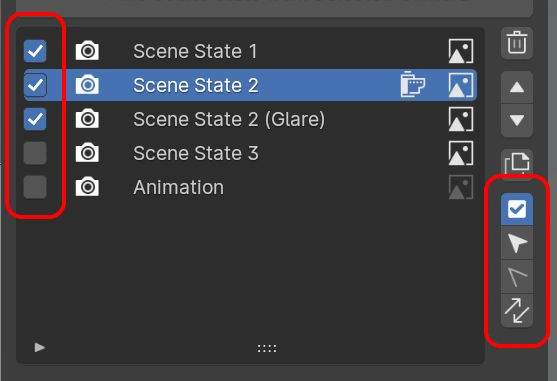
Note
Currently, this selection is only used by the Apply Property To Other Scene States operator.
Apply Property To Other Scene States
This handy feature allows you to apply the value of any modifier property to other scene states at once. Just right-click the property of the scene modifier you want to apply and select “Apply To All Scene States.”

You can also use the “Apply Property To Selected Scene States” feature to apply the property only to selected scene states.