Usage
Installation
Open Blender and go to Edit -> Preferences -> Add-ons -> Install from Disk and select the add-on zip file. Then enable the add-on by checking the checkbox next to it.
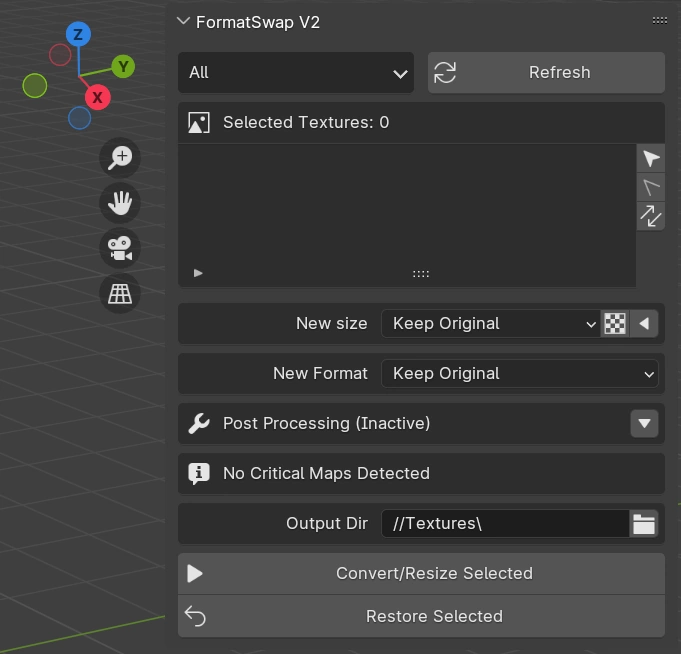
After installing the add-on, the panel will be in the sidebar of the Blender 3D View.
Simple Conversion
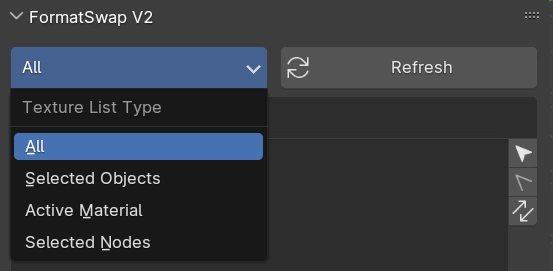
Formatswap is a powerful tool, but it can be used in a simple way. Open your scene with the images you want to convert. In the add-on panel, select from where you want to load the images.
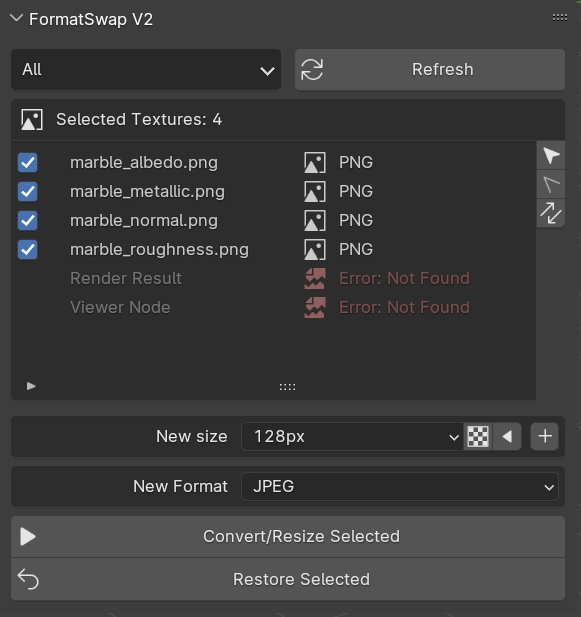
Click on the Refresh button to load the images. After that, you can select the images you want to convert by clicking on the checkbox next to the image name.
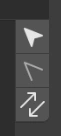
You can also use the Select All, Deselect All, and Invert Selection options to help with the selection process.
You can display more images at once just by dragging the bottom of the UI List to increase the number of rows displayed.
Select the new size and new format you want to convert the images to, ensure the .blend file is saved, then click on the Convert/Resize Selected button. (If you are transitioning from Formatswap V1, you will notice the speed improvement here).
Warning
The conversion process will create a new image in the output folder with the new format and size. The original image will not be replaced. However, if the output folder is the same as the original image folder, the original image will be replaced.
Note
By default, the output folder is set to a folder called “FS_Textures” in the same directory as your .blend file. If you want to change the output folder, you can check the Panel Widgets section in the Add-on Preferences.
Packed Textures
The add-on supports processing packed textures. When a packed texture is detected, the add-on will temporarily unpack it into a folder called .fs_unpacked_textures (located next to your .blend file), process it, and then pack it again. At the end of the conversion, the texture will still be packed as expected.
Warning
Do not delete the .fs_unpacked_textures folder or its contents while working with your project. The files stored there are used if you want to restore an image back to its previous state.
Restoring Images
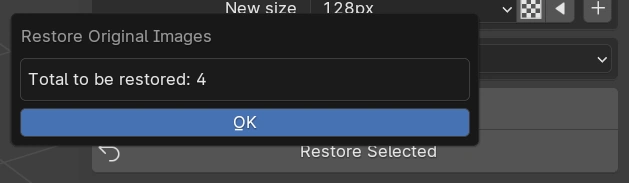
In Formatswap v2, restoring images is as simple as converting them. Select the images you want to restore, then click on the Restore Selected button.
Warning
The restoring process will simply restore the path of the original image before the conversion process. If the original image was deleted or moved, the restoring process will not work. This process will also not work if the original image was replaced during the conversion process.
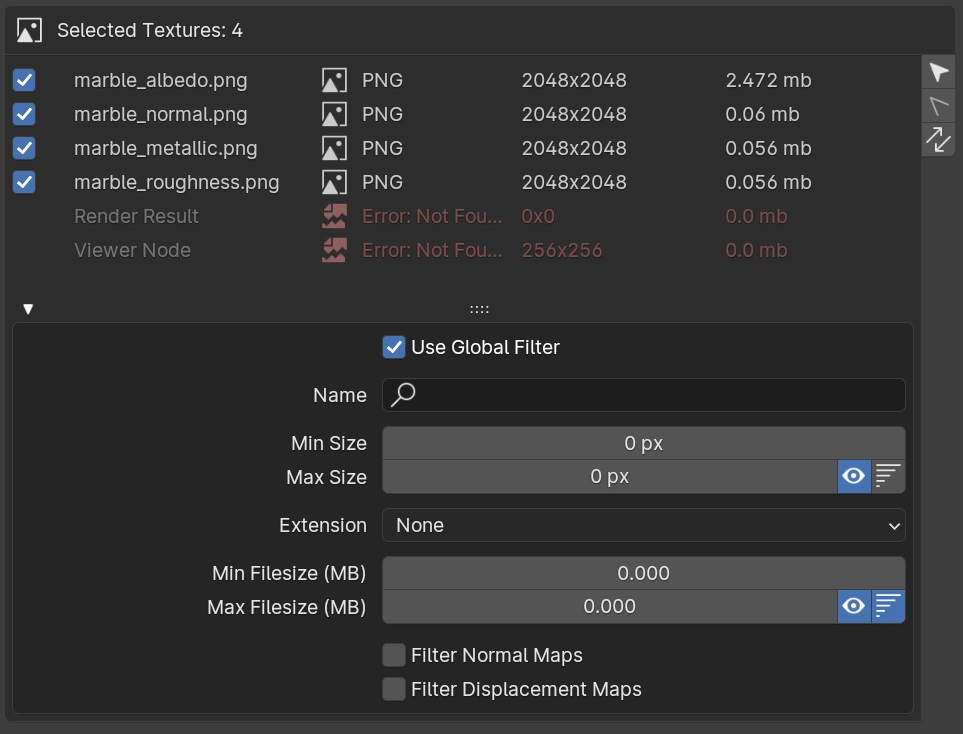
Global Filtering
This feature allows you to filter images based on their resolution size, name, extension, file size, and by map type, such as Normal and Displacement. This makes it easier to find the images you want to convert.
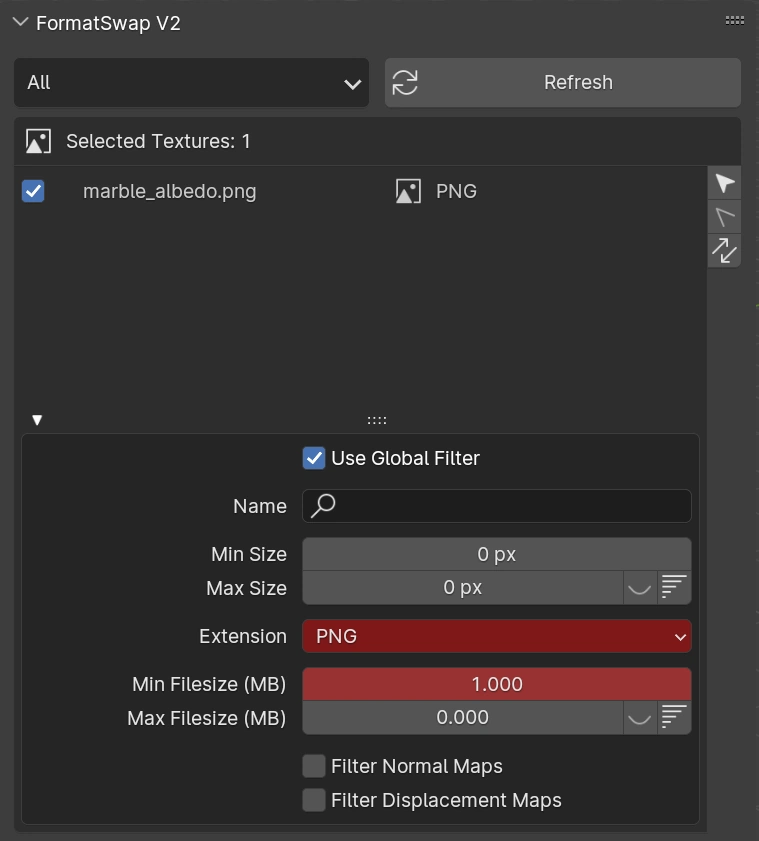
To enable it, just expand the UI List filter panel by clicking in the small arrow in the bottom right corner of the UI List, then check the Use Global Filtering option.

Note
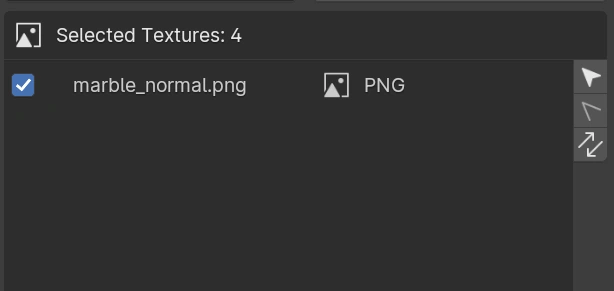
The global filtering will only filter the images displayed in the UI List and will not change the already selected images to be converted. In the example below, global filtering is enabled, showing only one image in the UI List, but all images are still selected and will be converted.
Some filter properties will have extra functions like displaying the info on the UI List (eye icon) or using it as an ordering parameter (ordering icon).
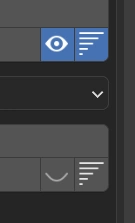
In the example below, the images are ordered by file size, and the resolution size and file size are displayed in the UI List.
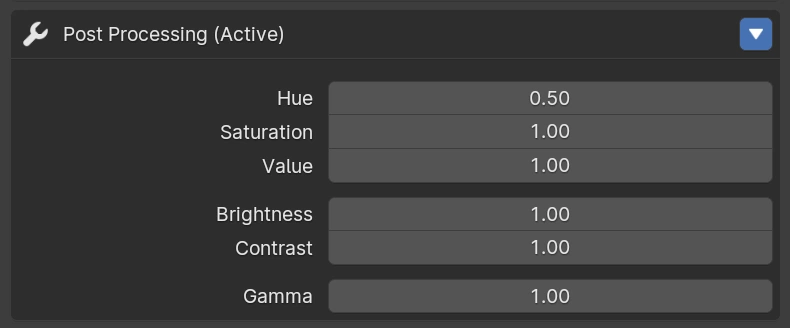
Post Processing
Note
To be able to use the post-processing options, you need to have the Post Processing Widget enabled in the add-on preferences, you can check the Panel Widgets section in the Add-on Preferences document for more information.
Just like the Formatswap V1, you can use the post-processing options to apply changes on HUE, Saturation, Value, Brightness, Contrast, and Gamma to the images in all processed images at once.
Critical Maps Detector
Note
To be able to use the Critical Maps Detector, you need to have the Critical Maps Widget enabled in the add-on preferences, you can check the Panel Widgets section in the Add-on Preferences document for more information.
With this feature, you will be able to quickly convert/resize all images in your scene without bothering about the critical texture maps like Normal or Displacement. These maps usually require a higher resolution or to keep an specific format with a specific channel to avoid losing information.
Critical Maps Detector will automatically detect these maps even if you select all images in your scene, and you can choose to simply ignore them or to convert them with a different resolution or format.
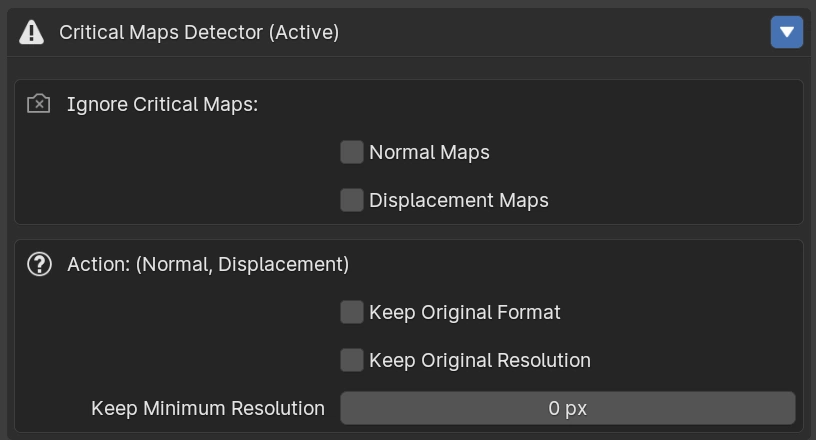
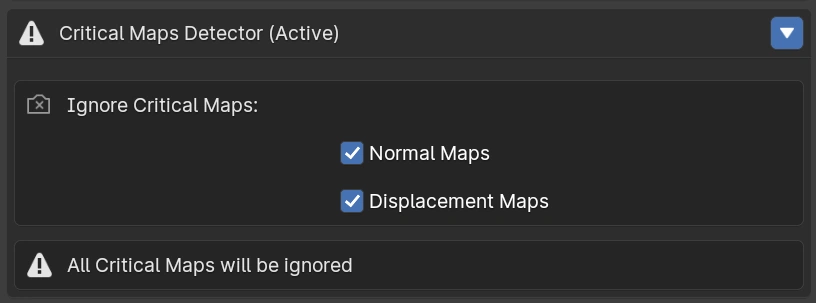
By default, even if the Critical Maps Detector is enabled, nothing will be done with the critical maps.
if you want to simply ignore all critical maps, you can check both Normal and Displacement options in the Ignore Critical Maps section. All your selected textures would be processed, but the critical maps will be ignored and will keep the original format and resolution.
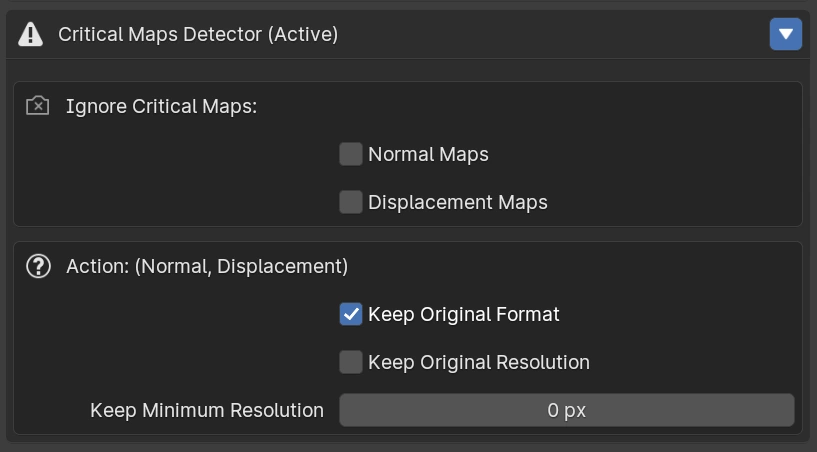
But let’s say you want both types of critical maps to be processed, and you want to allow these maps to be resized, but keep the original format. All you have to do is uncheck both Normal and Displacement options in the Ignore Critical Maps section, and check only the Keep Original Format option in the Action section.
Both map types will keep the same format, but they will be resized to the specified resolution in the New Size section just like the other images.
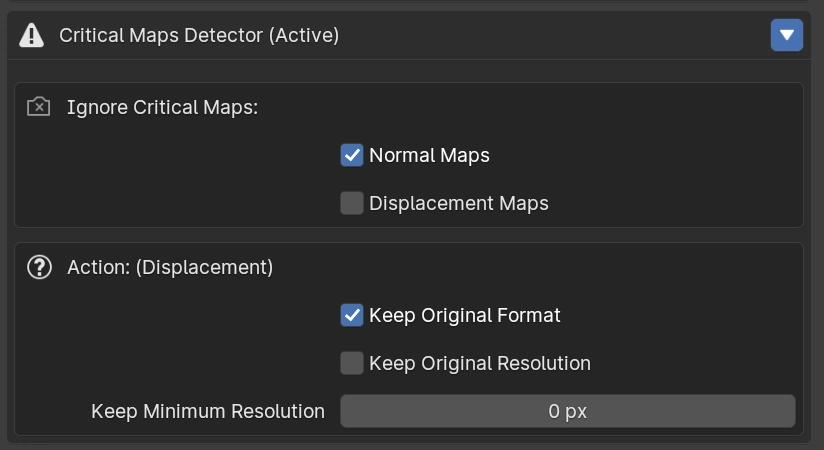
The Action will be applied for both types if both are unchecked in the Ignore Critical Maps section. But if you choose to only ignore the normal maps, and allow the processing of displacement maps, The action will only be applied only to the displacement maps.
In the example bellow, I’m ignoring the normal maps, but I’m allowing the displacement maps to resized, but keeping the original format.
By default, If you leave the Keep Original Resolution option unchecked, the new resolution of the critical maps will be the same as the one you select in the Panel Widgets section.
But instead of simply not resizing, you can also use the Keep Minimum Resolution option to specify a minimum resolution for the critical maps. With this option, you will still be able to resize your critical maps to a smaller value, optimizing your scene, but keeping it at a minimum specified resolution.
In this example, I’m resizing all images in my scene to 512x512, but I want to keep the critical maps at a minimum resolution of 1024x1024.

Resizing Options/Batch Resizing
There are a few more options you can use to resize your images.
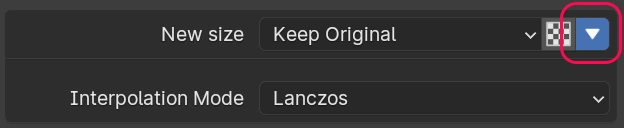
Resize as percentage: You can resize your images by a percentage of the original size of each selected image. Just click on the checkered icon to the right of the new resolution size option to enable the percentage option.

Interpolation Mode: You can choose the interpolation mode used to resize the images by clicking on the arrow icon to the right of the new resolution size option to display the interpolation mode options.
Warning
Only formats supported by OpenCV will be able to use the interpolation mode. If you choose a format that is not supported, the interpolation mode will be ignored. You can check the supported formats in the Supported Formats section.
Batch Resizing: You can resize all images in your scene to multiple resolutions at once. After selecting a new size, a button with a plus icon will appear. Click on it to add the new resolution to the batch resizing list. You can add as many resolutions as you want. Each resolution will be saved in a different folder, and you can also edit the folder name for each resolution.

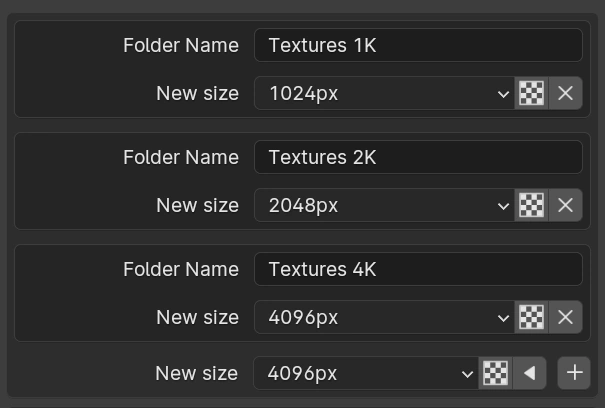
After adding all the resolutions you want, click on the Convert/Resize Selected button to start the batch resizing process.
New Format Options
Each format offers different saving options that you can usually ignore, but sometimes they can be useful to optimize your images.
For some examples:
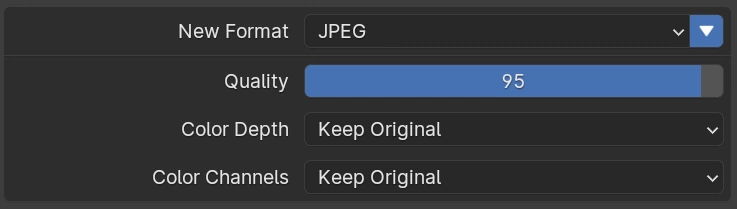
With the JPEG format, you can choose the quality of the image. The higher the quality, the larger the file size.
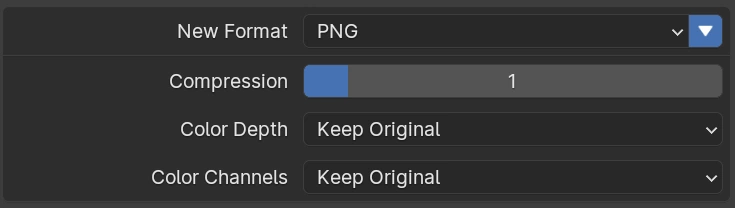
With the PNG format, you can choose the compression level. The higher the compression level, the smaller the file size.
Changing these values can impact the quality of the image but can reduce the file size. You can find the right balance for your project.
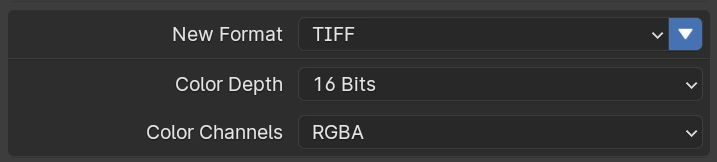
In all formats, you will be able to change the color depth and color channels. Each format can offer a few different values for these options.
Some cases where you can use these options are:
If you have a texture that doesn’t need the alpha channel, you can change the color channels to RGB, reducing the file size.
If you have a grayscale image or an image that doesn’t need the color information, you can change the color channels to BW (Black and White), reducing the file size.
If you have a 16-bit image but don’t need that much color depth, you can change the color depth to 8-bit, reducing the file size.